how to draw Thor Using Charcoal And Ink
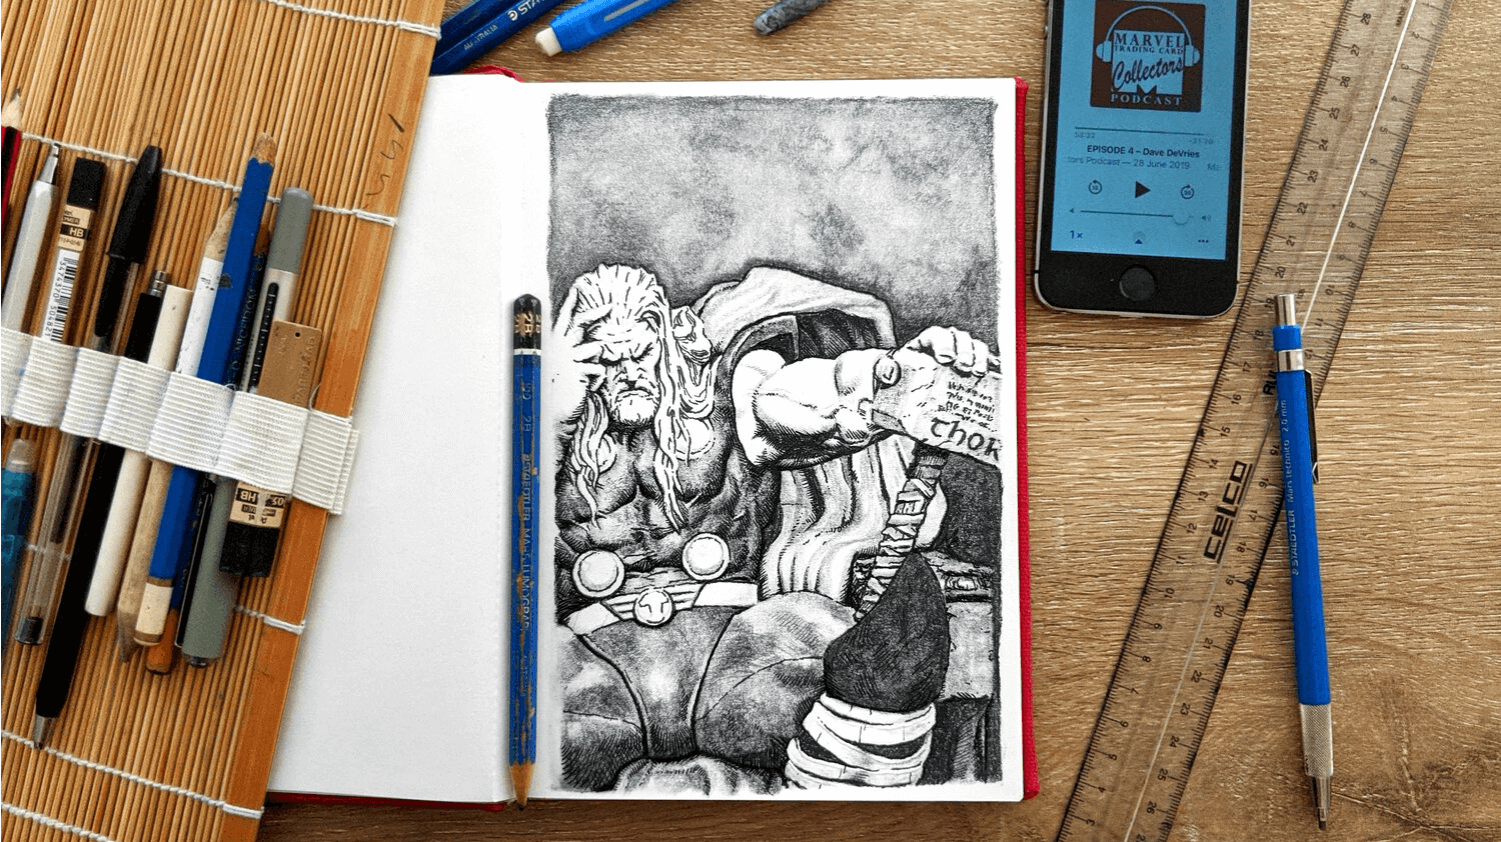
Interested in learning how to draw Thor from Avengers? In this step by step drawing tutorial blog post, I will show you how to draw the “God of Thunder”. Thor (Thor Odinson) is a Marvel Comics character and a founding member of the Avengers team. He is the protector of Asgard, realm of the gods, and powerhouse (next to Hulk) for the Avengers. He was traditionally considered as a b-grade character in the comics and now popularized by the Marvel movies. Thor is part of the Pantheon of Norse Mythology. We associate him with protection.
What I like about Thor is that his story is quite tragic and dramatic - almost Shakespearean. He is destined to take his father’s (Odin, chief of the gods) place as ruler and protector of Asgard. However, Asgard is also destined to fall. Like almost all of the Norse gods, Thor is doomed to die at Ragnarok, the end of the world. Something that Thor tries to stop but is destined to fail. He falls after killing the great serpent with his hammer Mjollnir, dying to its poison. His sons survive and inherit the hammer of Thor. This appeals to me because Thor’s just tried his best. He has the power of a god and still can’t save the ones he cares about. Such a cruel fate!
I have created this tutorial to explain how to draw Thor step by step. I wanted to create some art to practice a new work process using charcoal and ink in my new sketchbook. You can use the video and step-by-step drawing instructions below to learn how to draw Thor from Marvel with charcoal and ink.
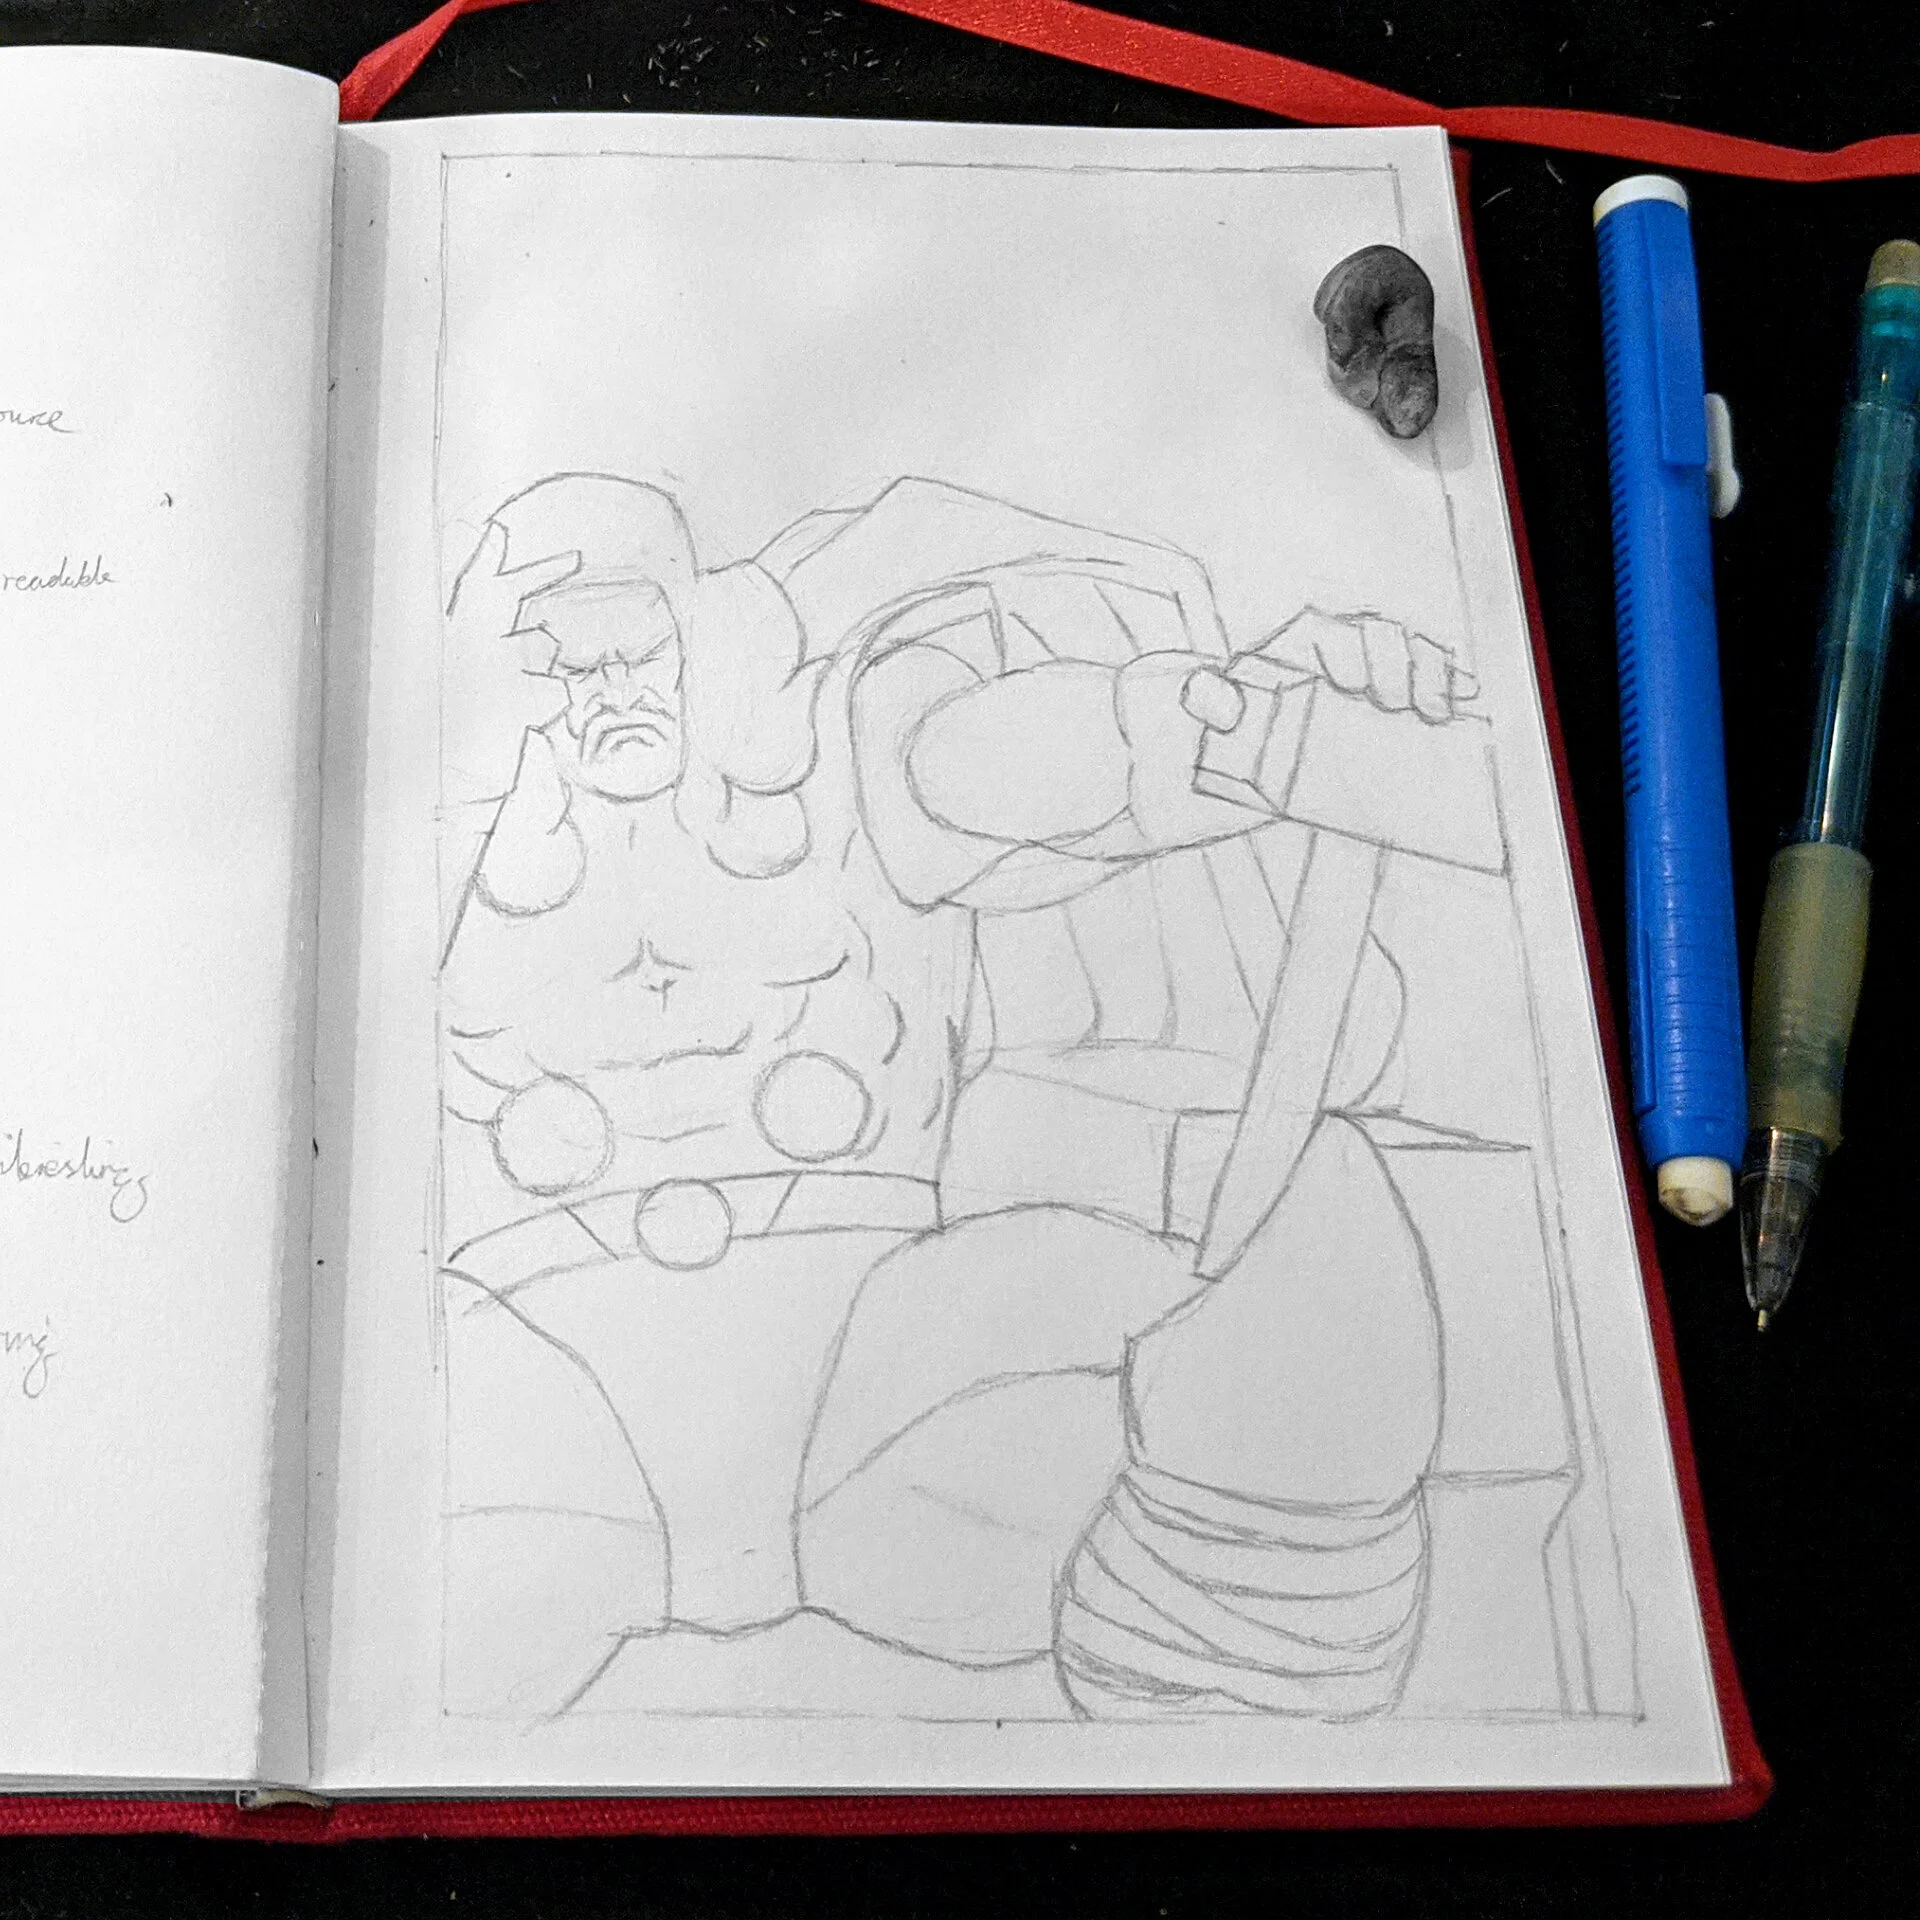
STEP 1: Shapes and Composition
Firstly, starting this Thor art piece, I was very aware that I wanted it to be a portrait format.
In creating the shapes, I was concerned where the focal point should be. Should it be Thor’s face showing concern and heaviness? Or should the focal point be Thor’s hammer, Mjolnir, showing the text of who is worthy to hold this hammer.
What I wanted to be sure of was the fore-shortening of his arm. It needs to be anatomically and perspectively correct.
This first step focuses on the shapes and general composition. And, I highly recommend to get this stage 100% correct.
So, make sure you’re happy with the proportions within the frame, especially if fore-shortening is used, in this case Thor’s arm and left leg.
Then, take a break for at least one hour and come back with fresh eyes.
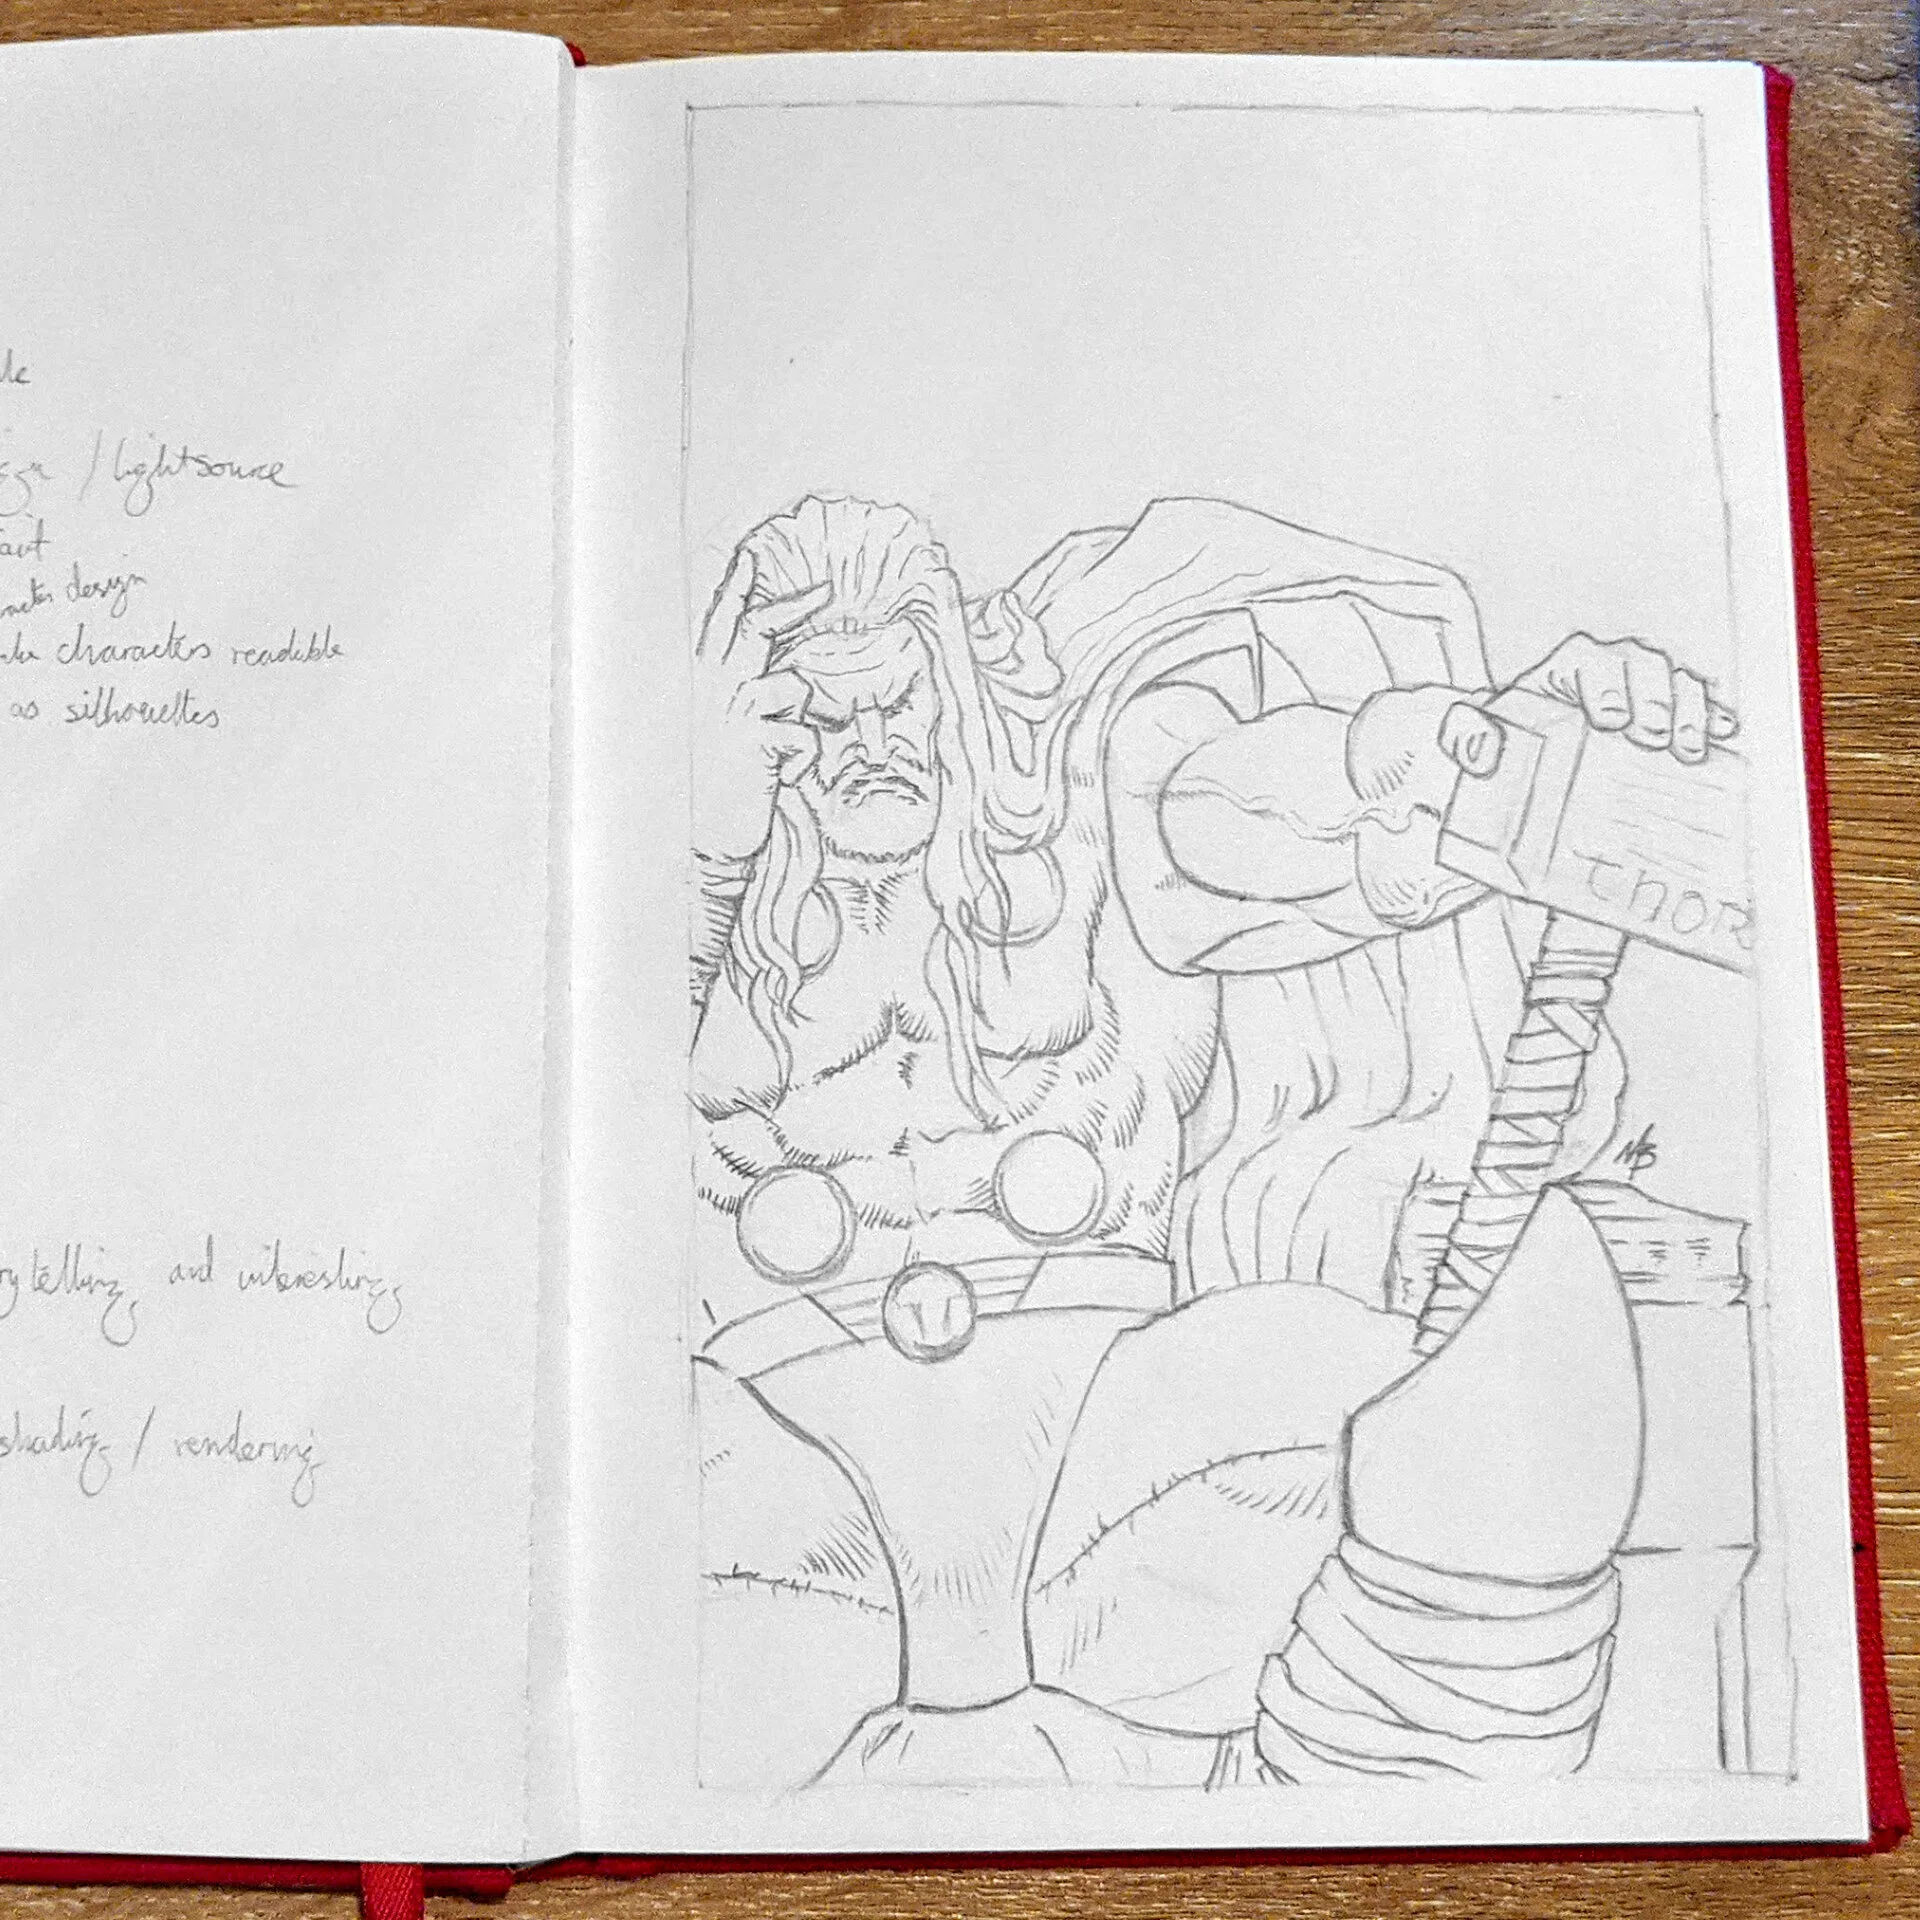
STEP 2: Clean Lines
In this second step to draw Thor and his hammer, I will refine the sketch. This is where you need to create cleaner, heavier lines ready to ink and or to color.
To be efficient, notice that I haven't invested time in shading and rendering the light source. In fact, I want to leave this for the next step.
For me, the sketching stage is purely about getting the composition, design, Thor character proportions looking right and visually satisfying.
Now, I'm thinking of using heavy black charcoals for contrast as the next step.
Again, just like the first step, take time to make sure your proportions, design and focal point area are to your satisfaction.
Then, take a break so you have fresh eyes for the next step to draw Thor.
Also, another technique I recommend to use is to reverse the image.
This will show minor flaws, weak areas of your Thor design that you need to give attention to.
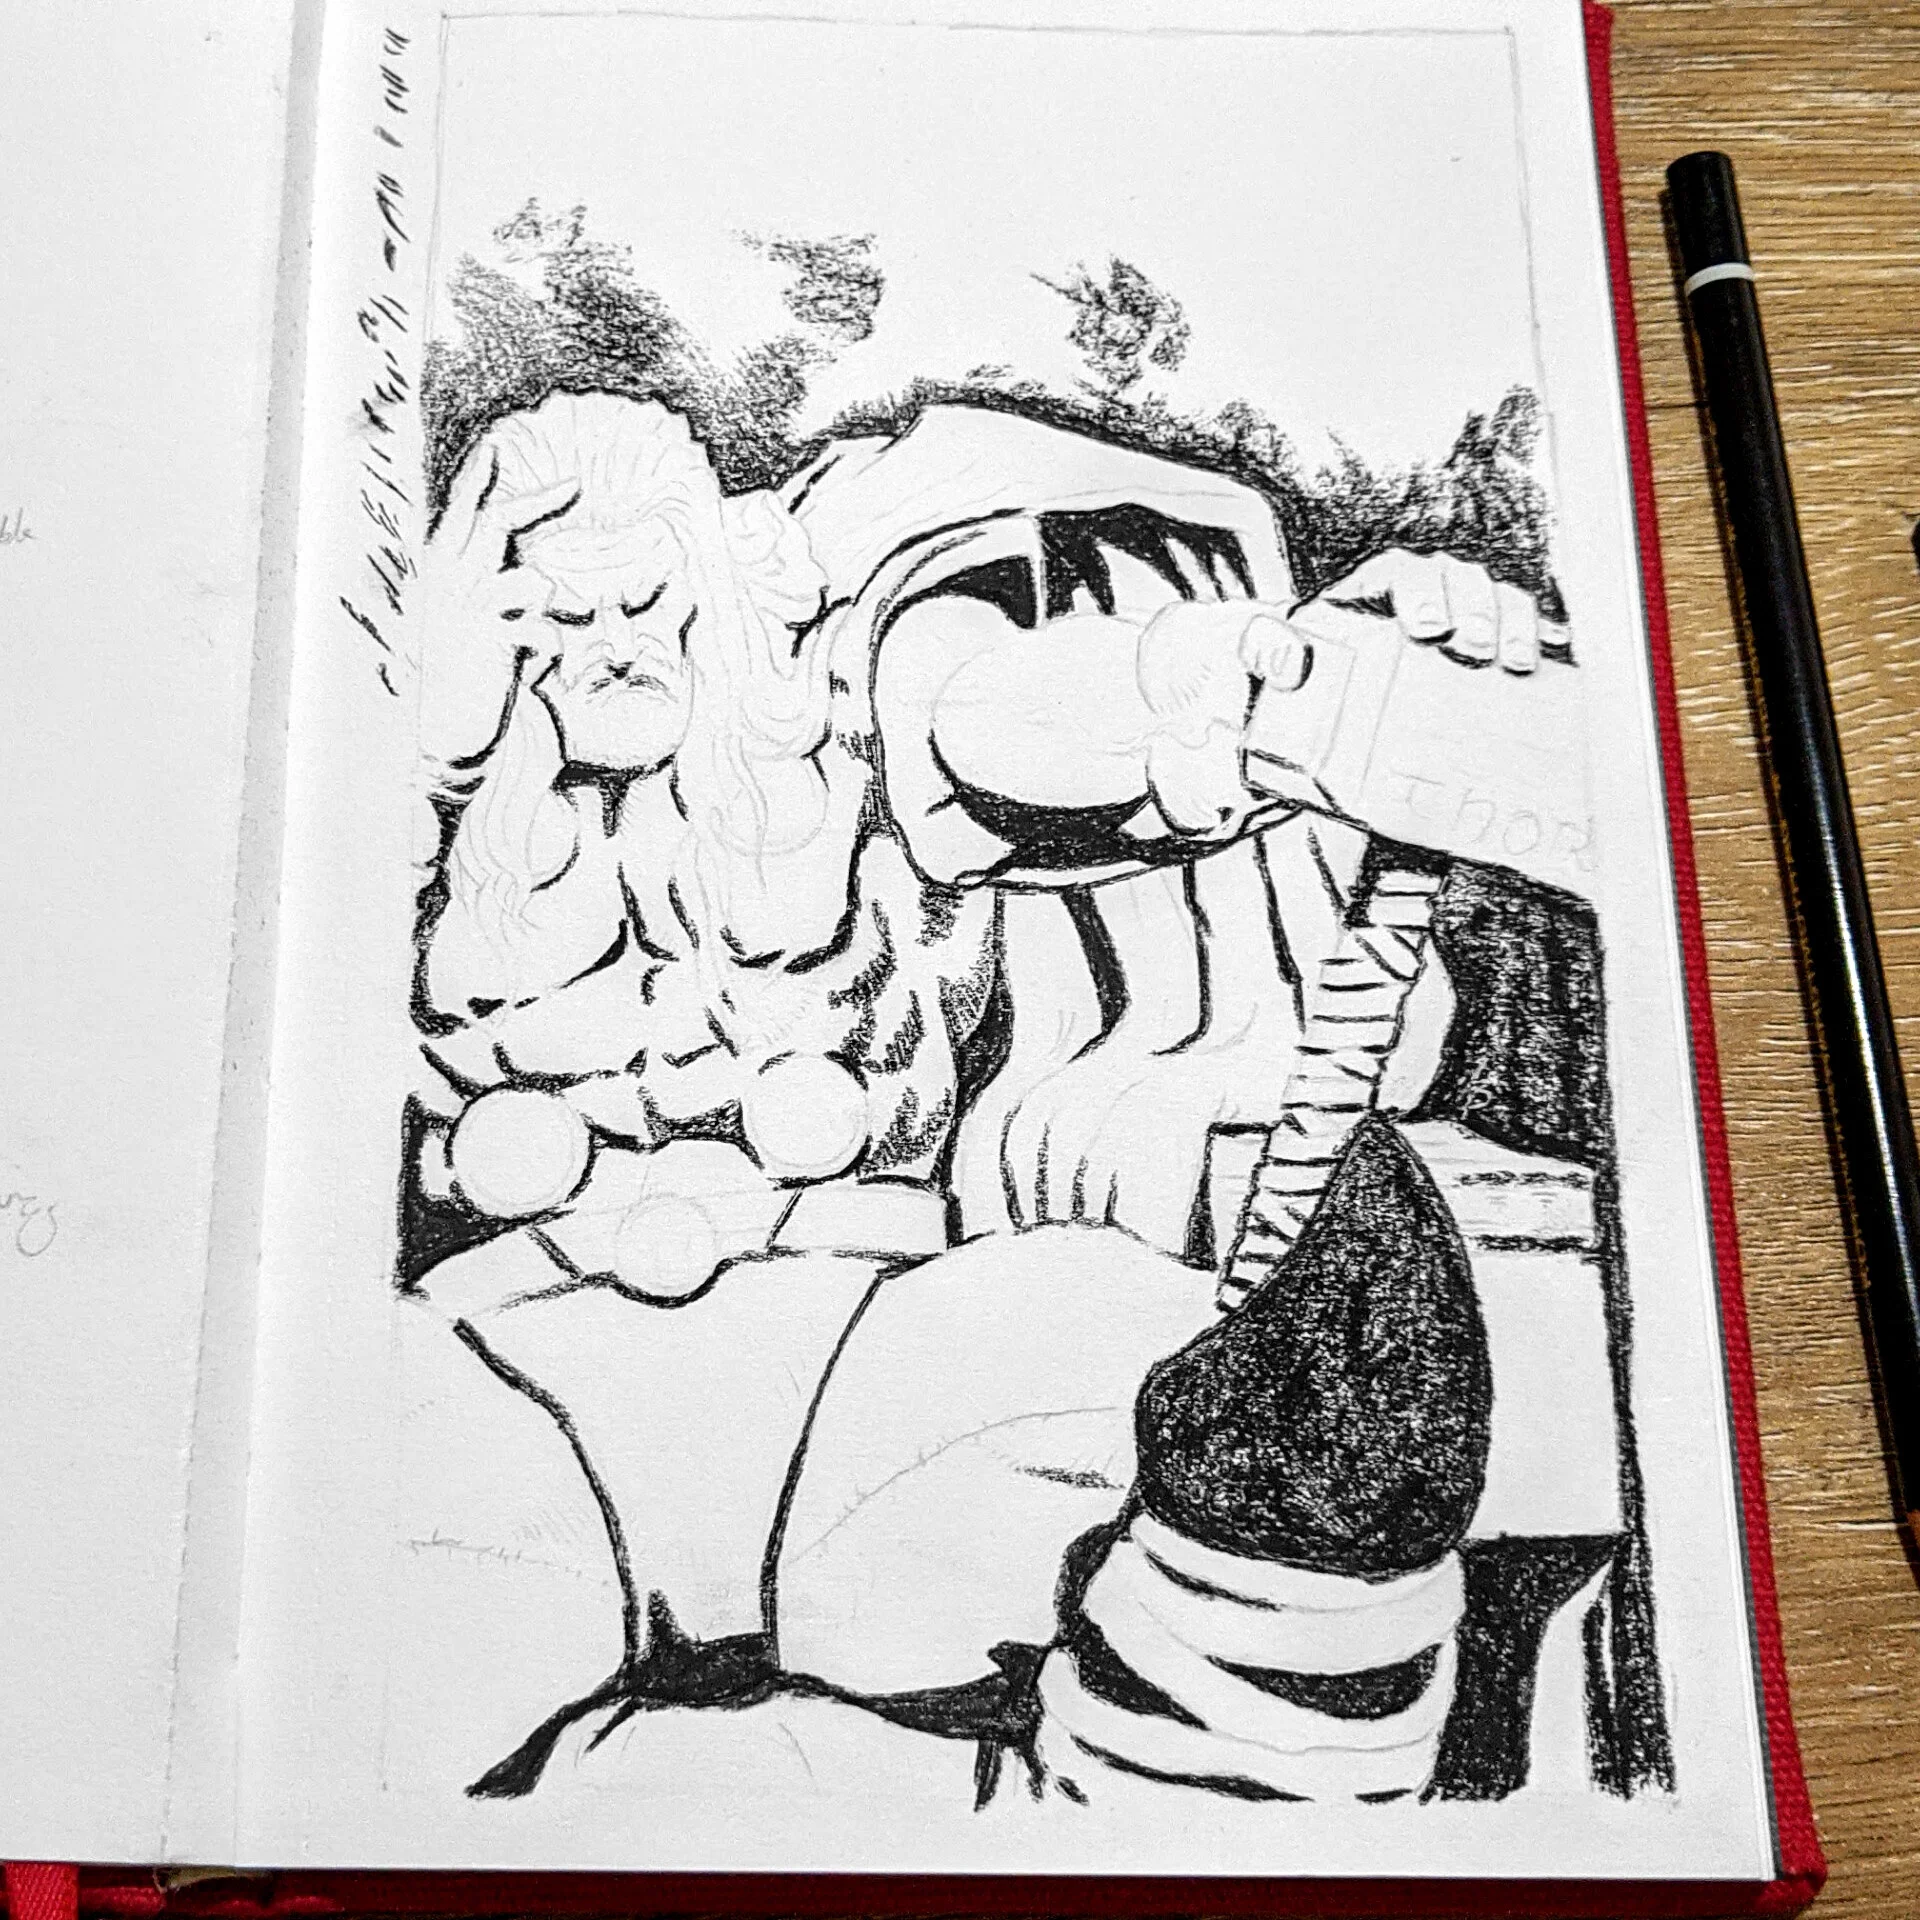
STEP 3: Rendering Blacks
After the break, let’s continue with the 3rd step. This stage is very literal.
I want to apply 100% black to the areas of the Thor artwork that are on one side of the contrast spectrum.
So, this is me having to think of where the initial light source is.
And, when applying the 100% black, I’m also thinking of where the 100% white is - this would be the highlight areas.
I do this to be efficient and not wasting time by adding details that I would probably eventually turn to 100% black.
I recommend you try this method because it forces you to think of the light source, in three-dimensions. And, it really makes your art pop!
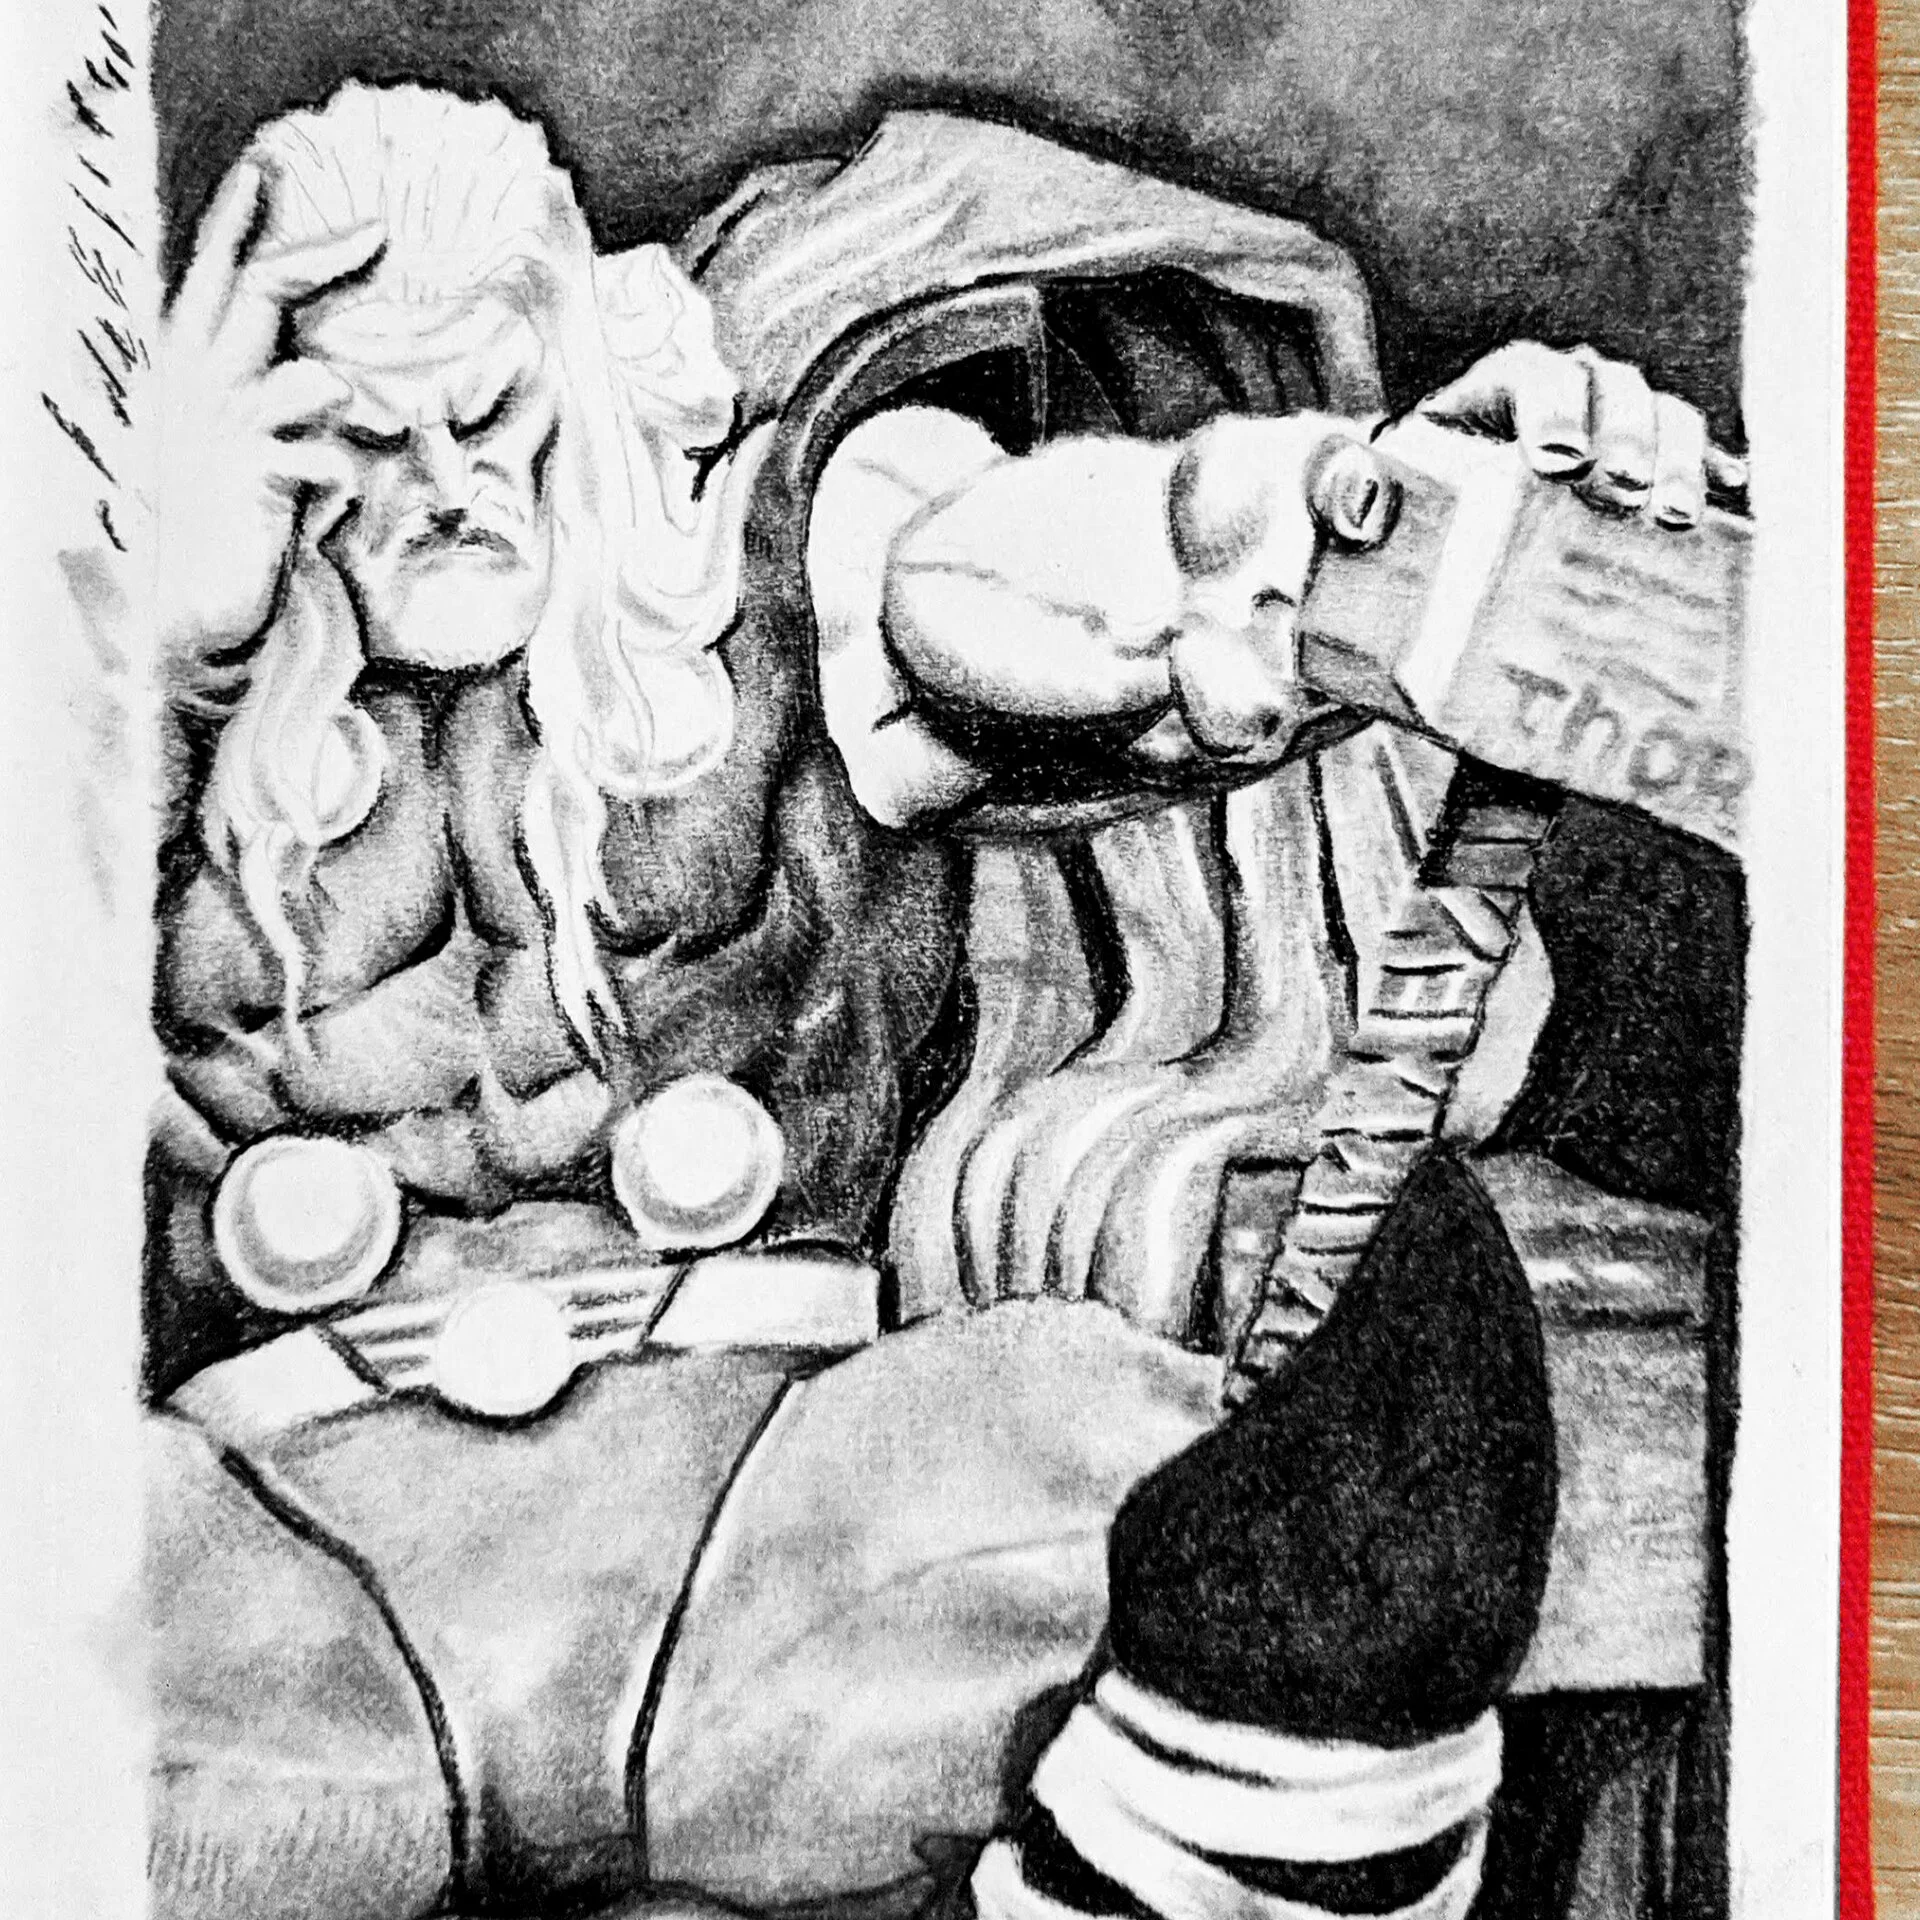
STEP 4: Mid Tones
Next, the mid tones. This is for me one of the most satisfying steps in this Thor tutorial.
Shading creates that three-dimensional and realistic look to your work.
I am always thinking of how to keep my methodology simple and not confusing for me.
Because I know that in the past I have wasted time adding minute details that I would either turn into black or turn into white.
So, to keep things simple, in my head I am adding the color grey to my drawing of Thor.
The tools that I’ve used to do this are charcoal with a burnisher for blending, and blu tac to erase and pull back the mid-tones.
I highly recommend you use the technique of squinting your eyes and just double check that you have achieved the black areas.
If the black area is not clear to you when squinting, then you need to take this time to add more black.
This is exactly the same thing for the highlighted areas of your Thor design.
Keep in mind the shading and blending is to solidify the black and white contrasts in creating three-dimensional depth.
All for the sake of realism, art that pops and that is visually appealing.
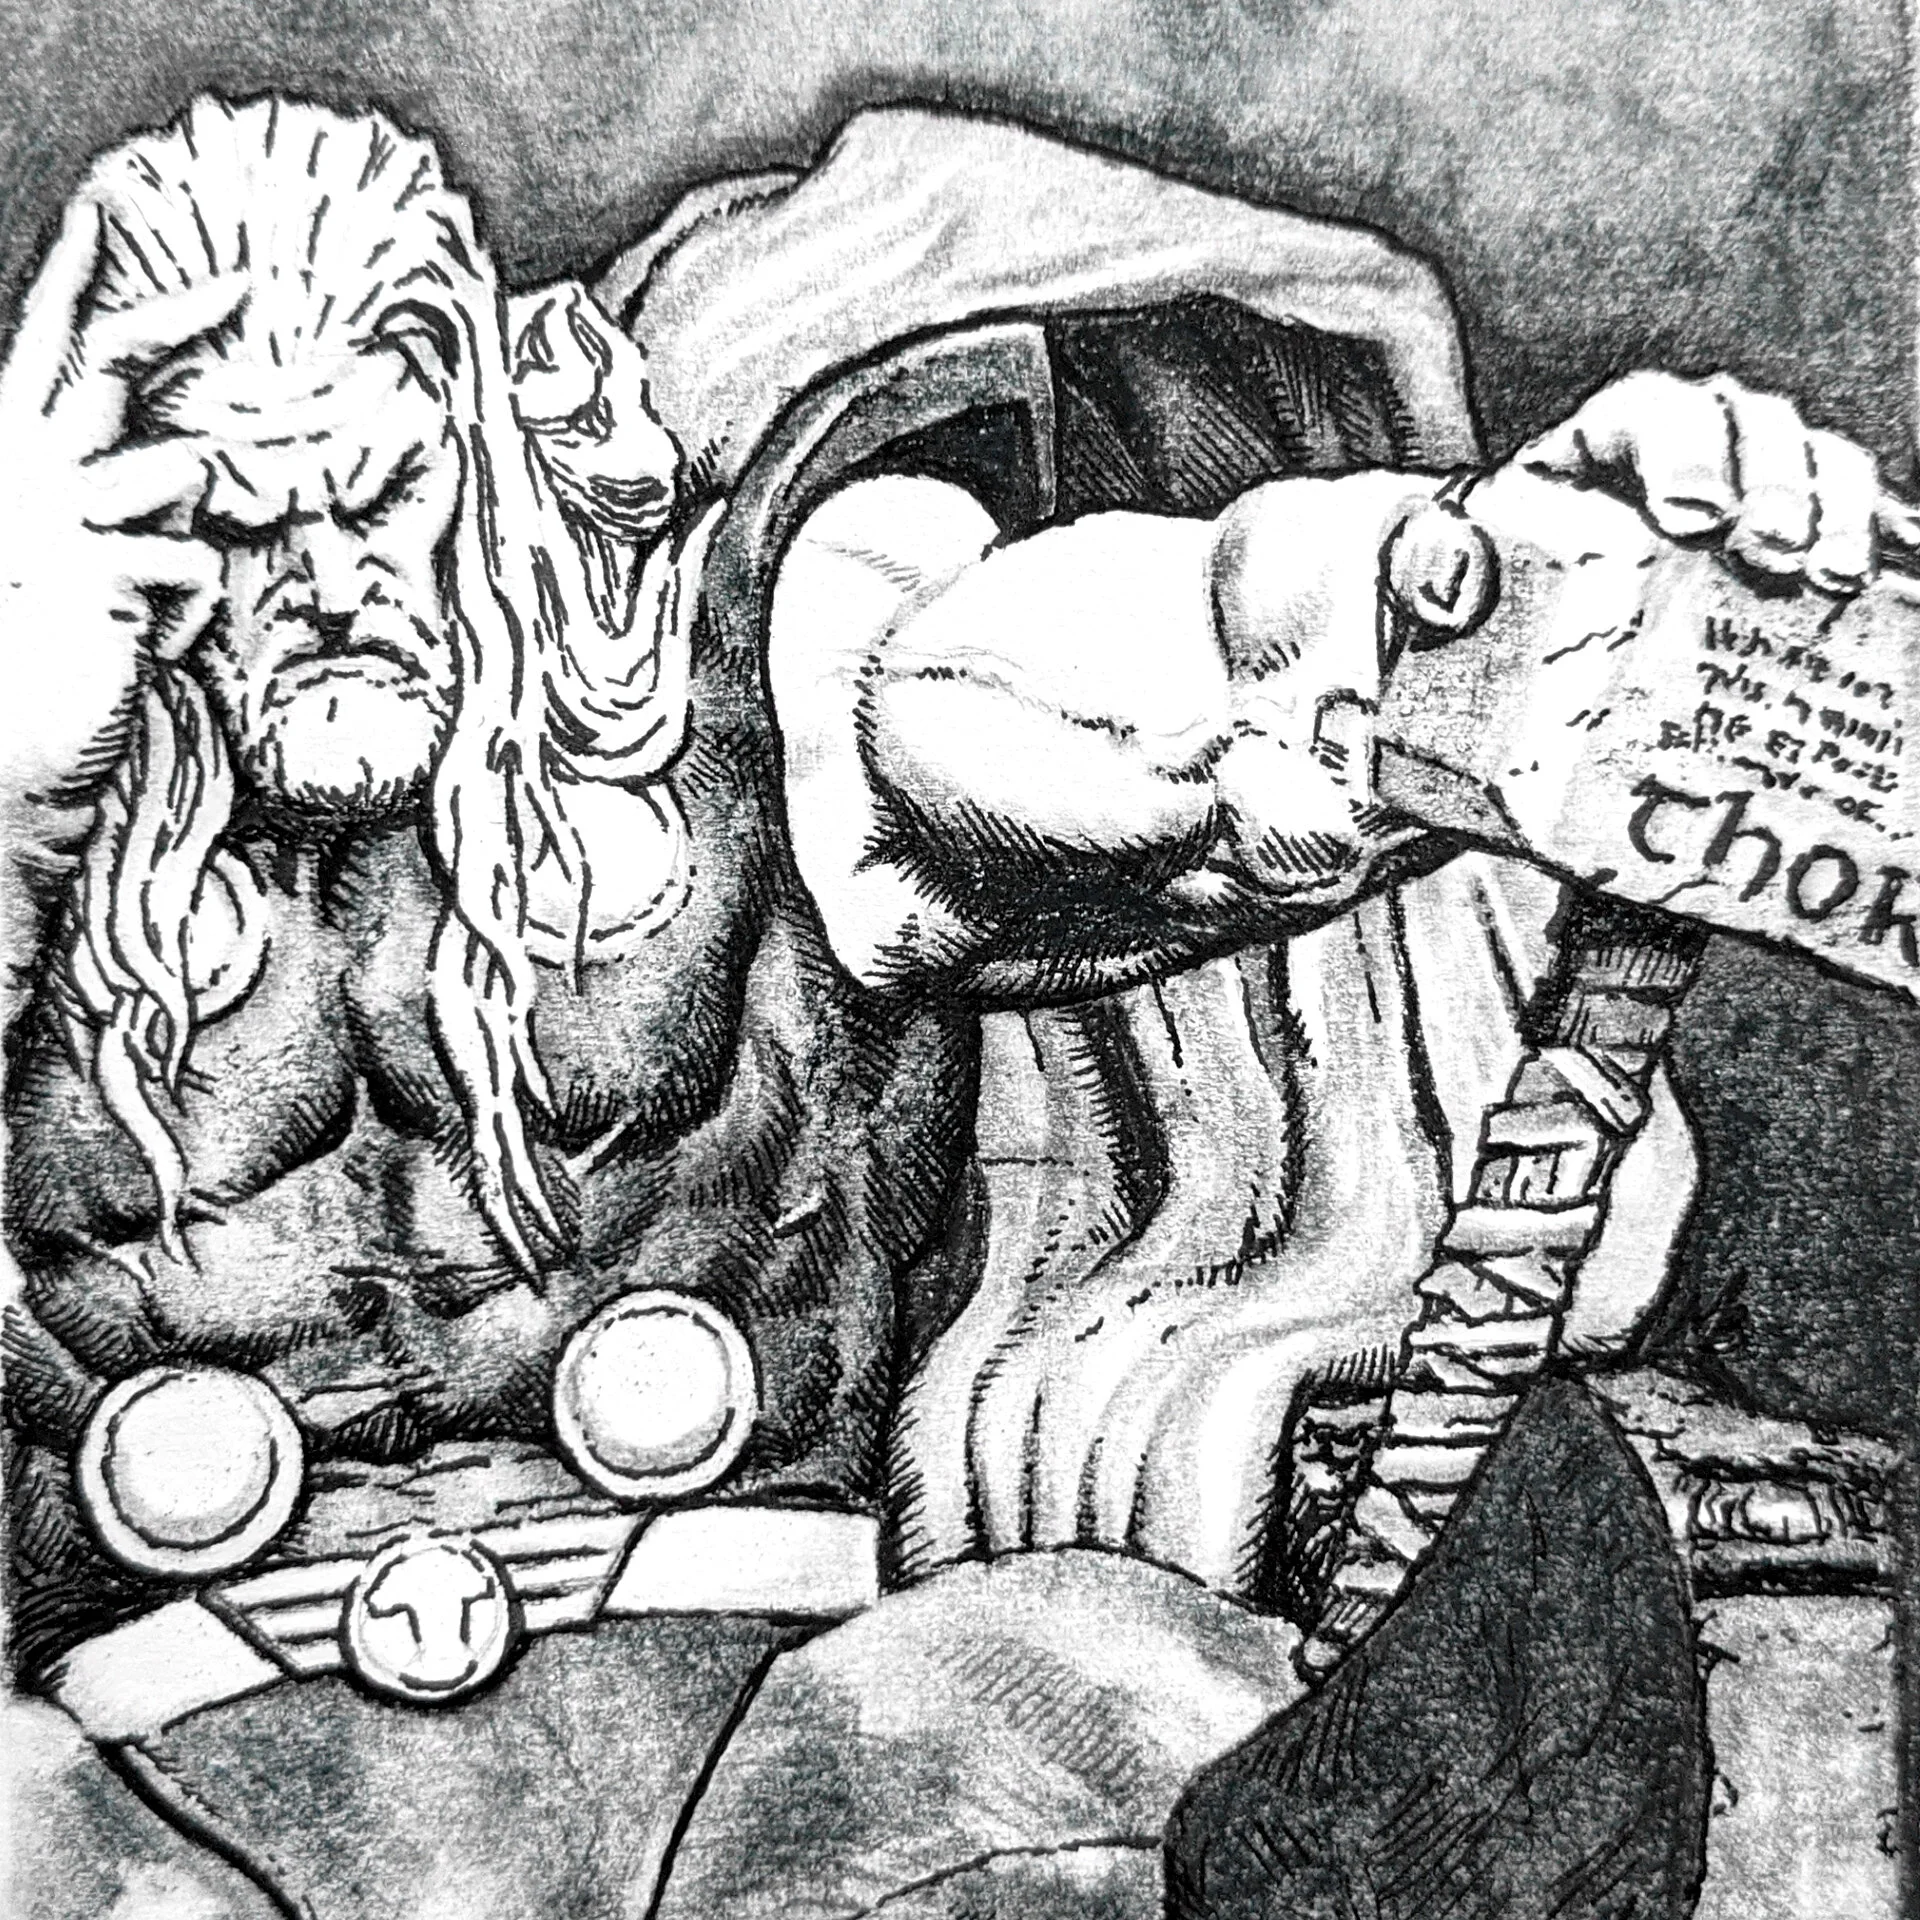
STEP 5: Details
To finish this drawing: the details! This is the last step of this tutorial!
I take the time to add detailed cross-hatching, sharpening areas that are focal points and intentionally blurring areas that are not.
Again for a grey-scale image, I’m constantly tweaking the contrast values.
And, I check whether I have enough black, enough white, or shading to create a three-dimensional depth.
Take breaks, regain fresh eyes and just confirm with yourself that you have achieved the whole look and point of your artwork.
For example, my focal point was Thor’s hammer.
So, for the Thor hammer drawing, I intentionally kept the background blank to not divert the viewer’s eyes. And I create Thor’s hammer outline.
I wanted all eyes on the foreground to lead to Thor’s head area.
Use this time to make sure that your Thor artwork “pops”.
Sharp lines at focal point areas retain the viewer’s attention and not so detailed and more blended areas detract the viewer’s attention.
Conclusion
To conclude, I hope you’ve enjoyed this Thor tutorial. Please, share with me any feedback you may have!
Use the timelapse video and my step-by-step drawing tutorial.
See how it looks below in the 15 minute video of my process to draw Thor using Faber Castell Polychromos pencils, Ink and Charcoal.
To sum up, remember:
First, keep your work methodology simple. Do not over complicate. You’ll find yourself in a rabbit whole of adding details that have taken you five hours just for example an arm. Do not fall into this trap!
Second, for this piece of artwork, what was easier is that it was in black and white. Literally black, grey and white. This was what was in my mind as my work process.
Third, I intentionally made each step one or two hour(s) period. Looking back, I definitely spent a lot of time in between steps 4 and 5. Details, details, details.
Click here to get this THOR design.
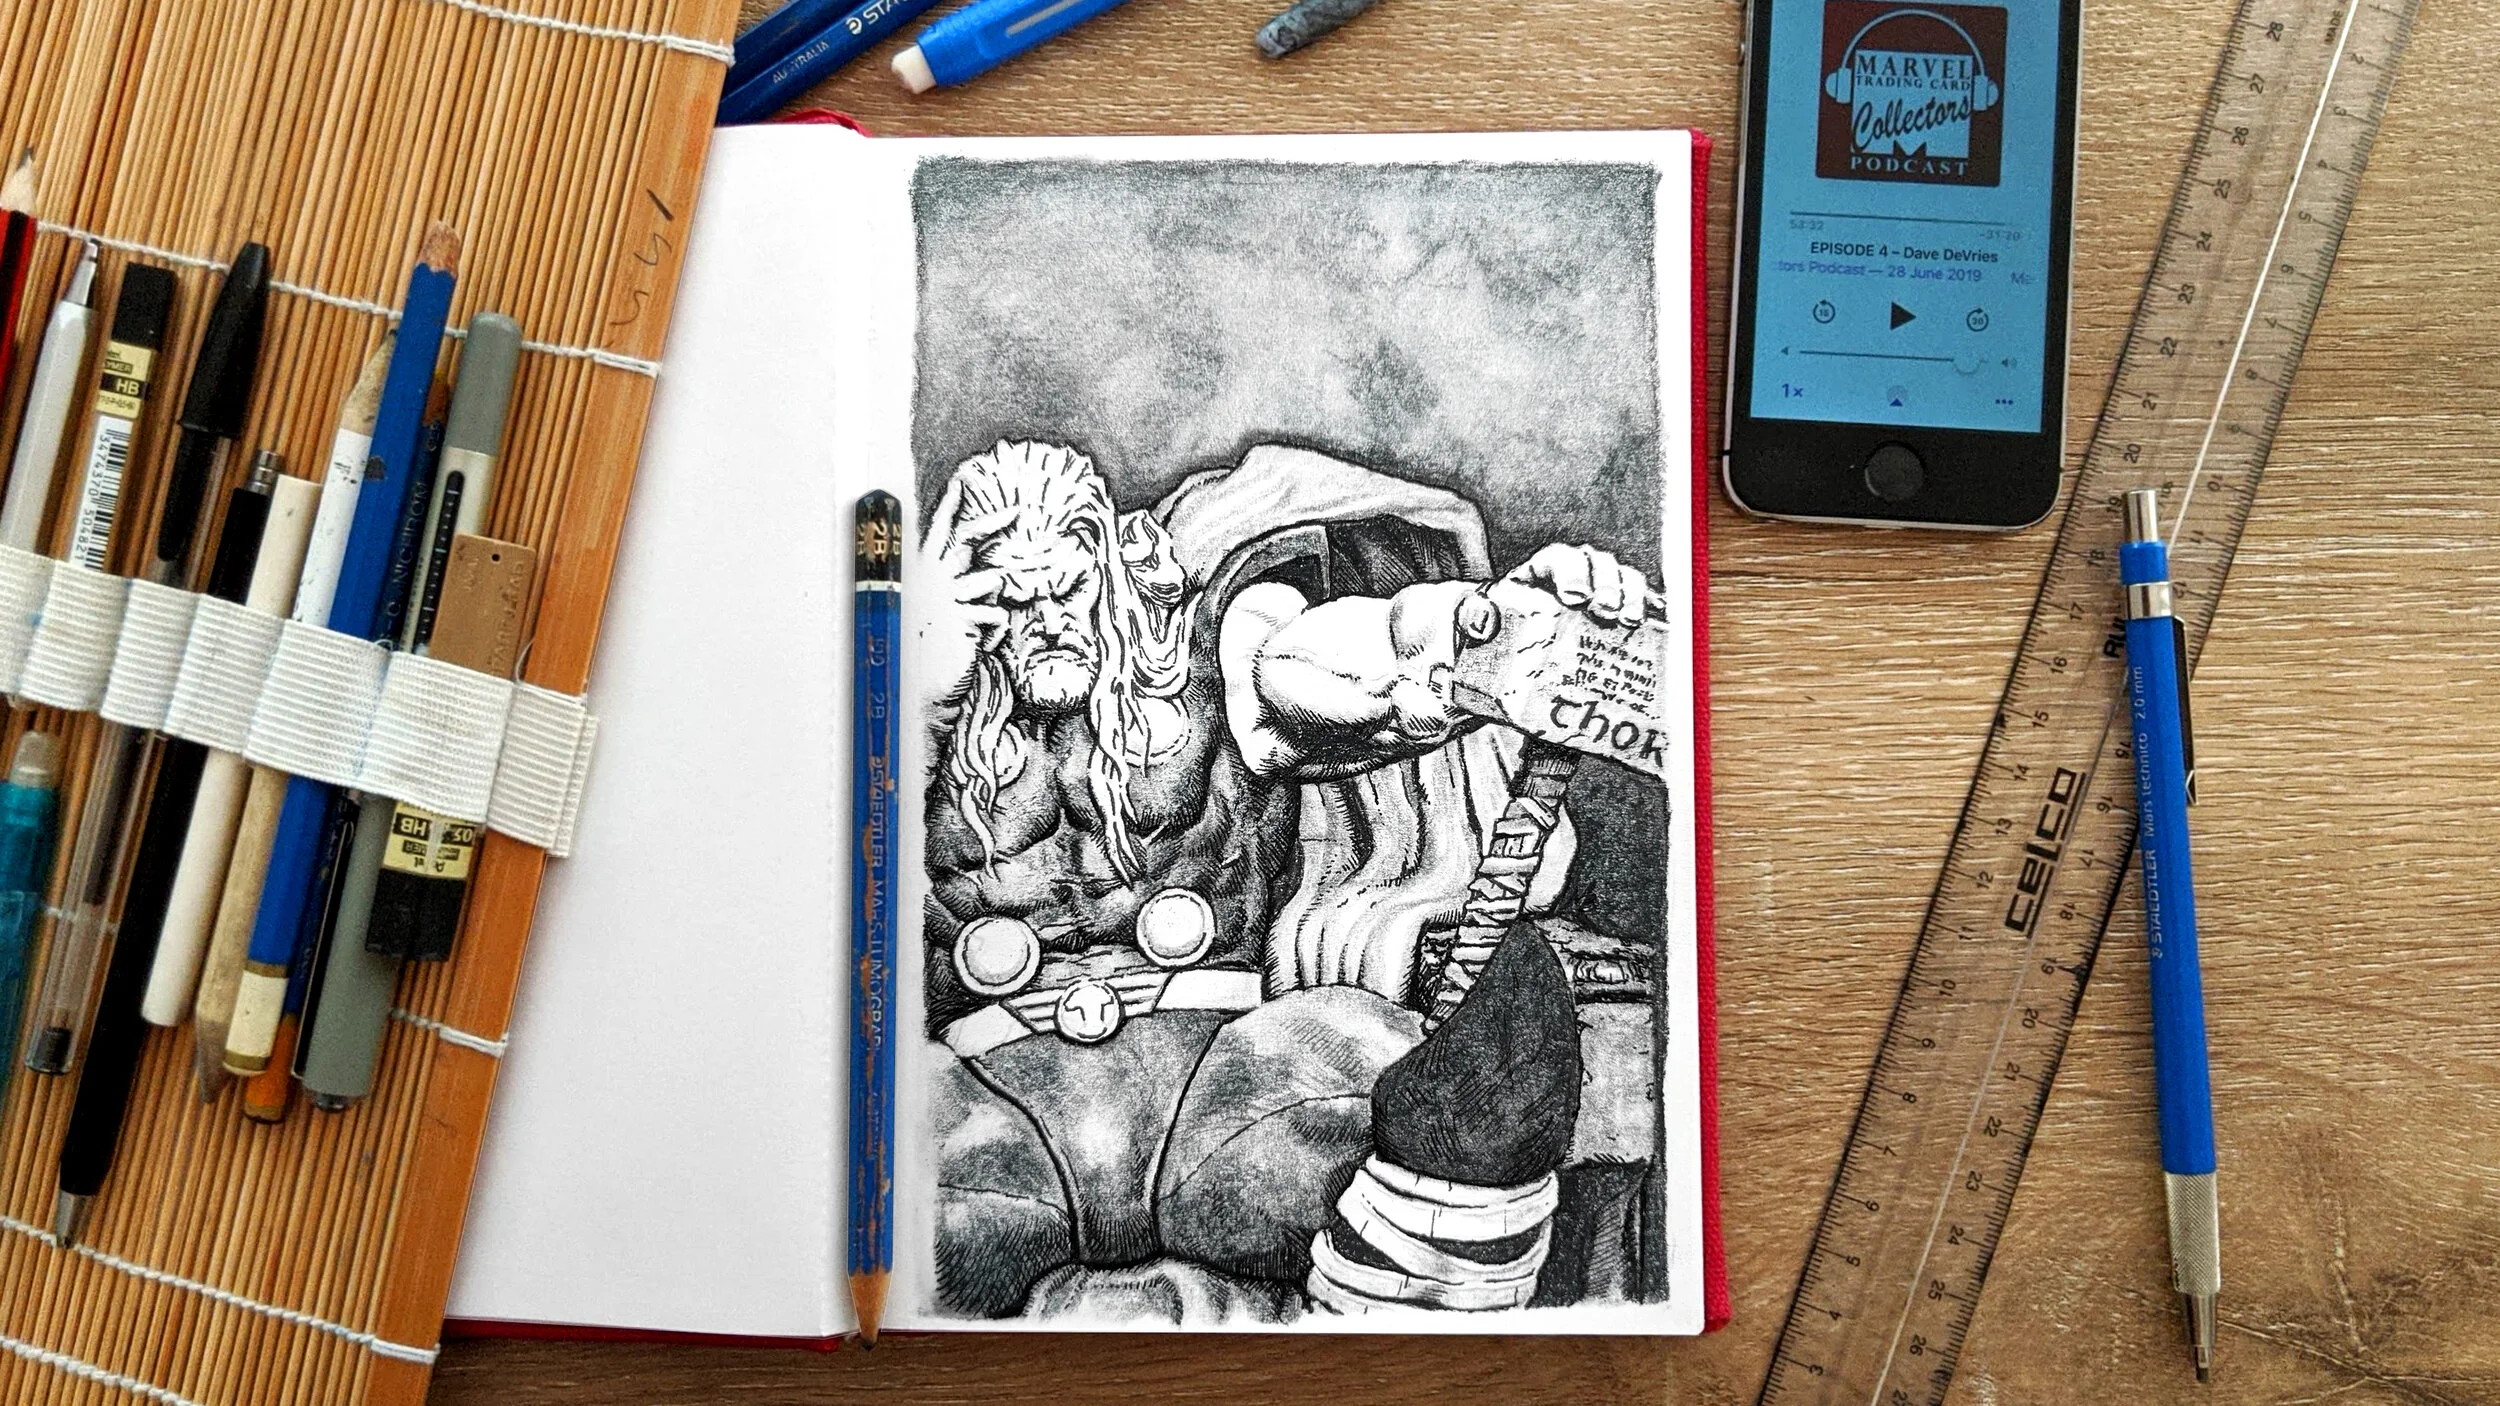
Did you enjoy this quick video tutorial ON HOW TO DRAW THOR?
Share with me your work methodology tips and techniques in the comments below as I’m always trying new methods.
If you find my content valuable and/or you’d like to support my work, you can go to my Buy Me A Coffee page. This will help pay for this website and my art supplies.
Find more of my work in Black and White :
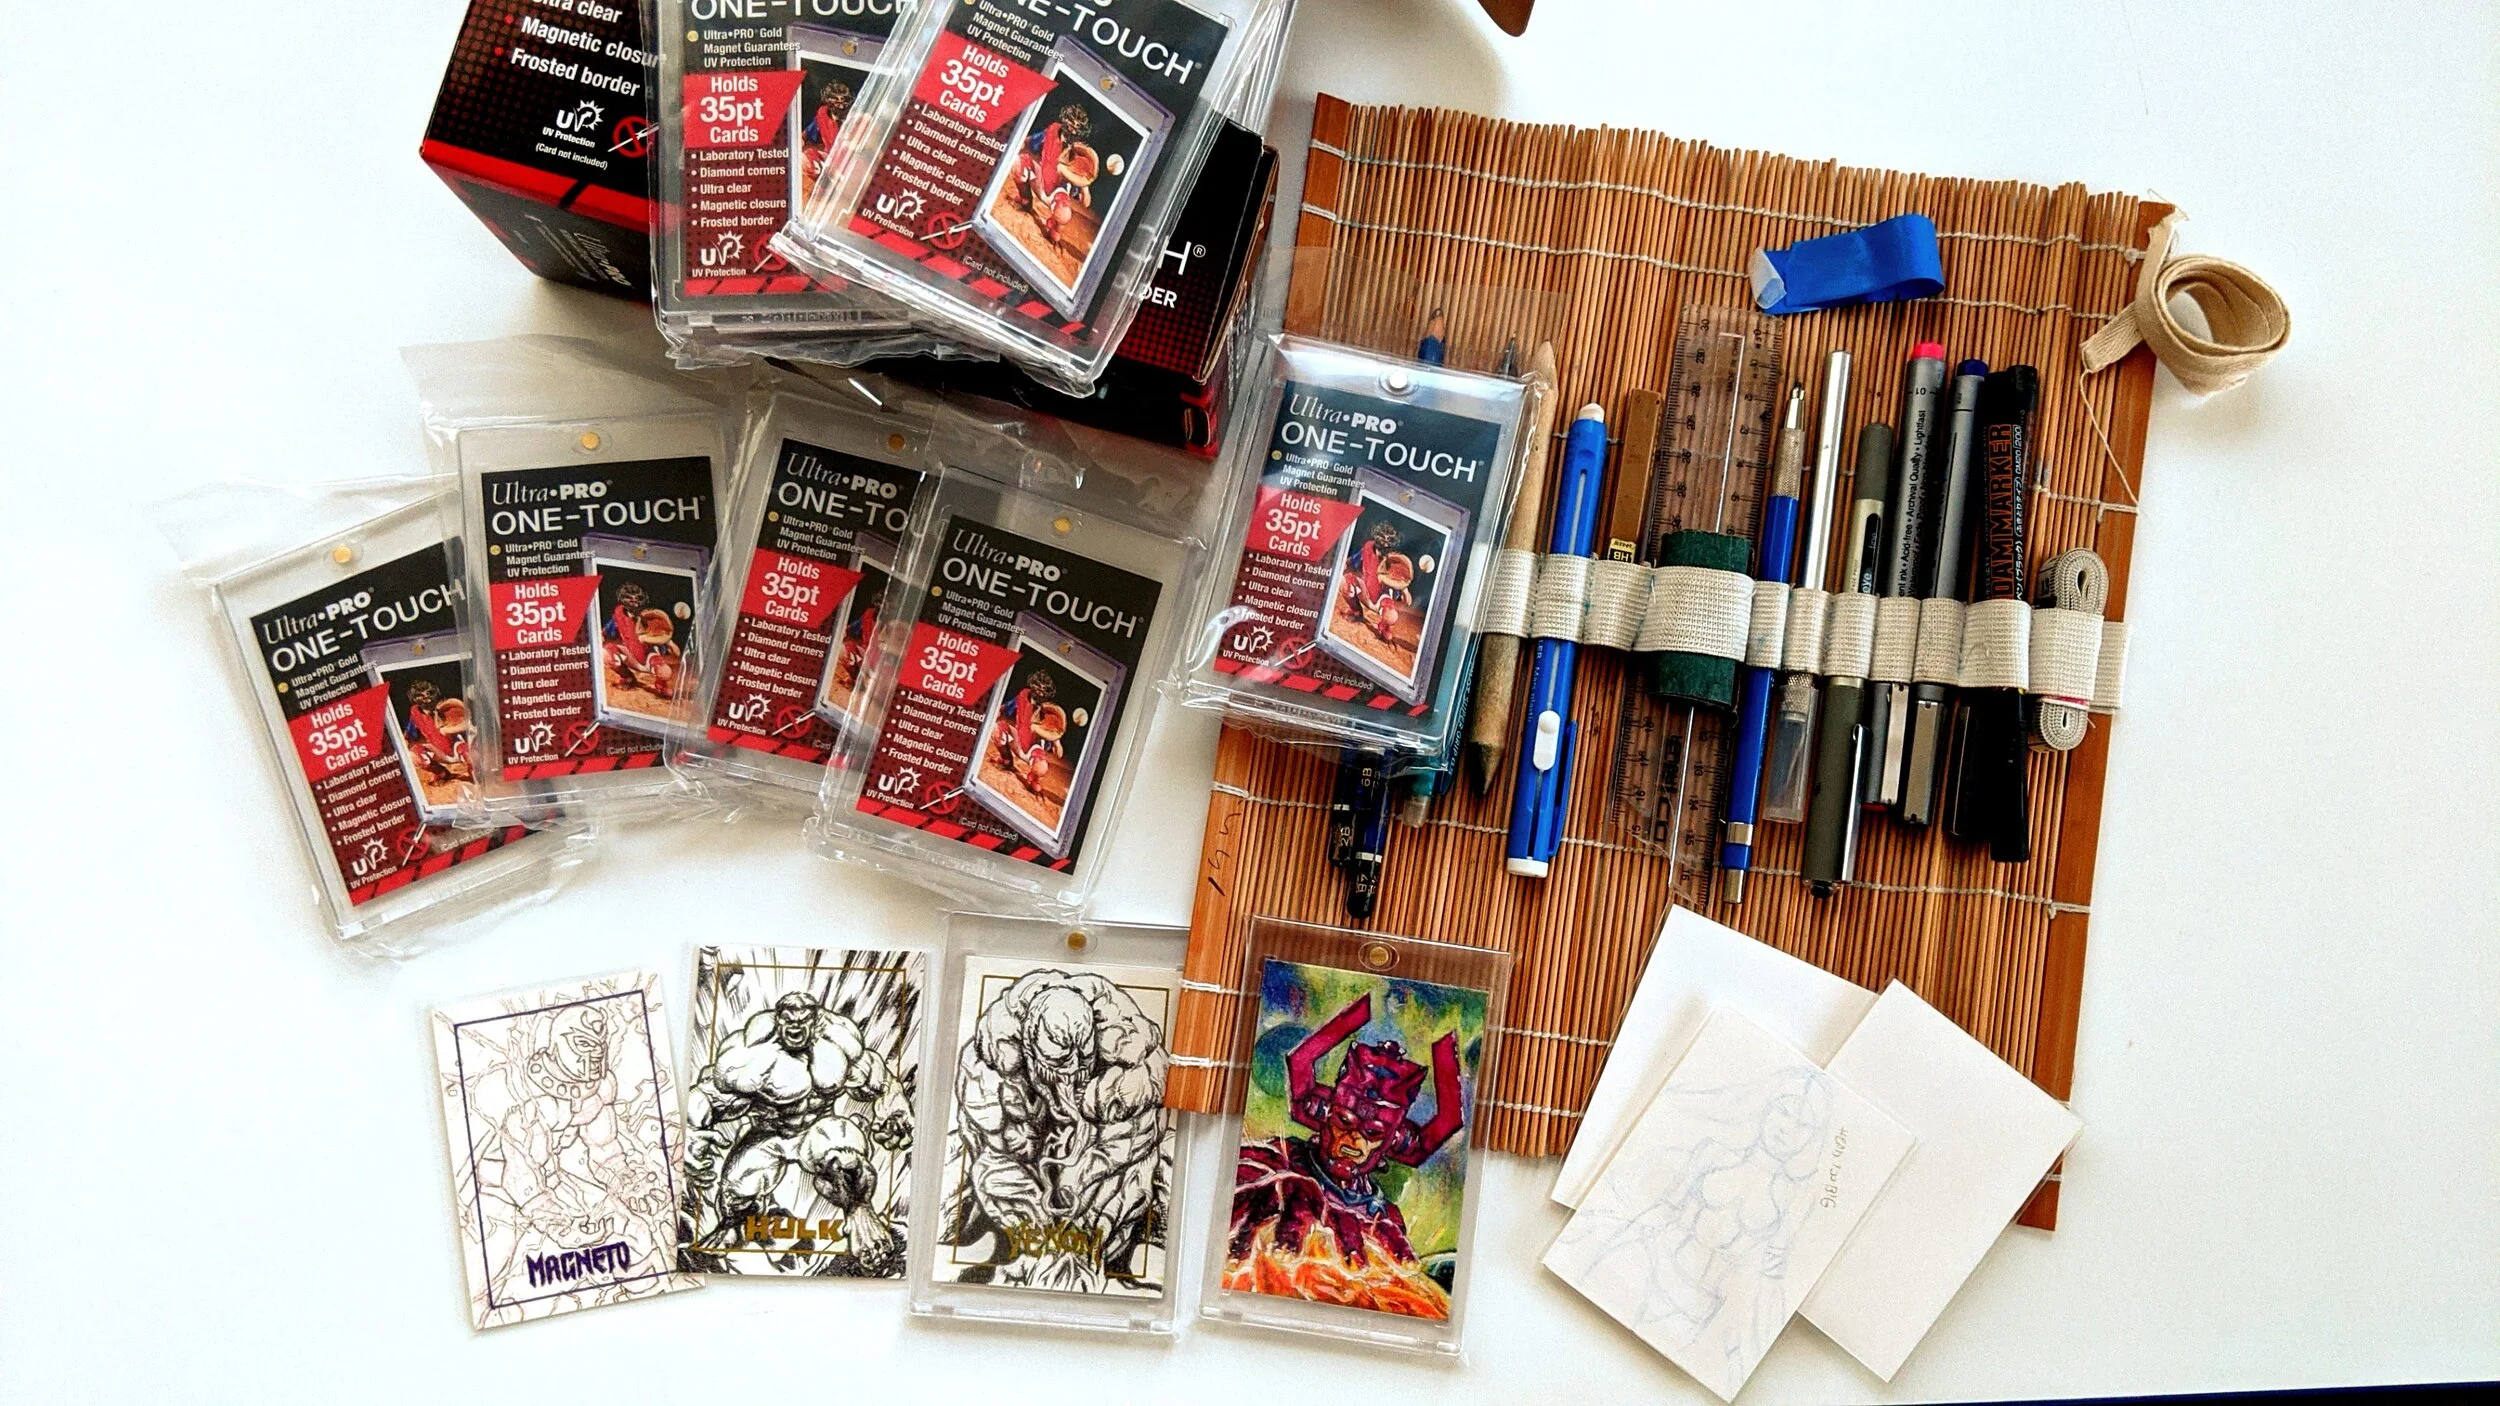
Sketch Card Collection
Wolverine: Deadly Night
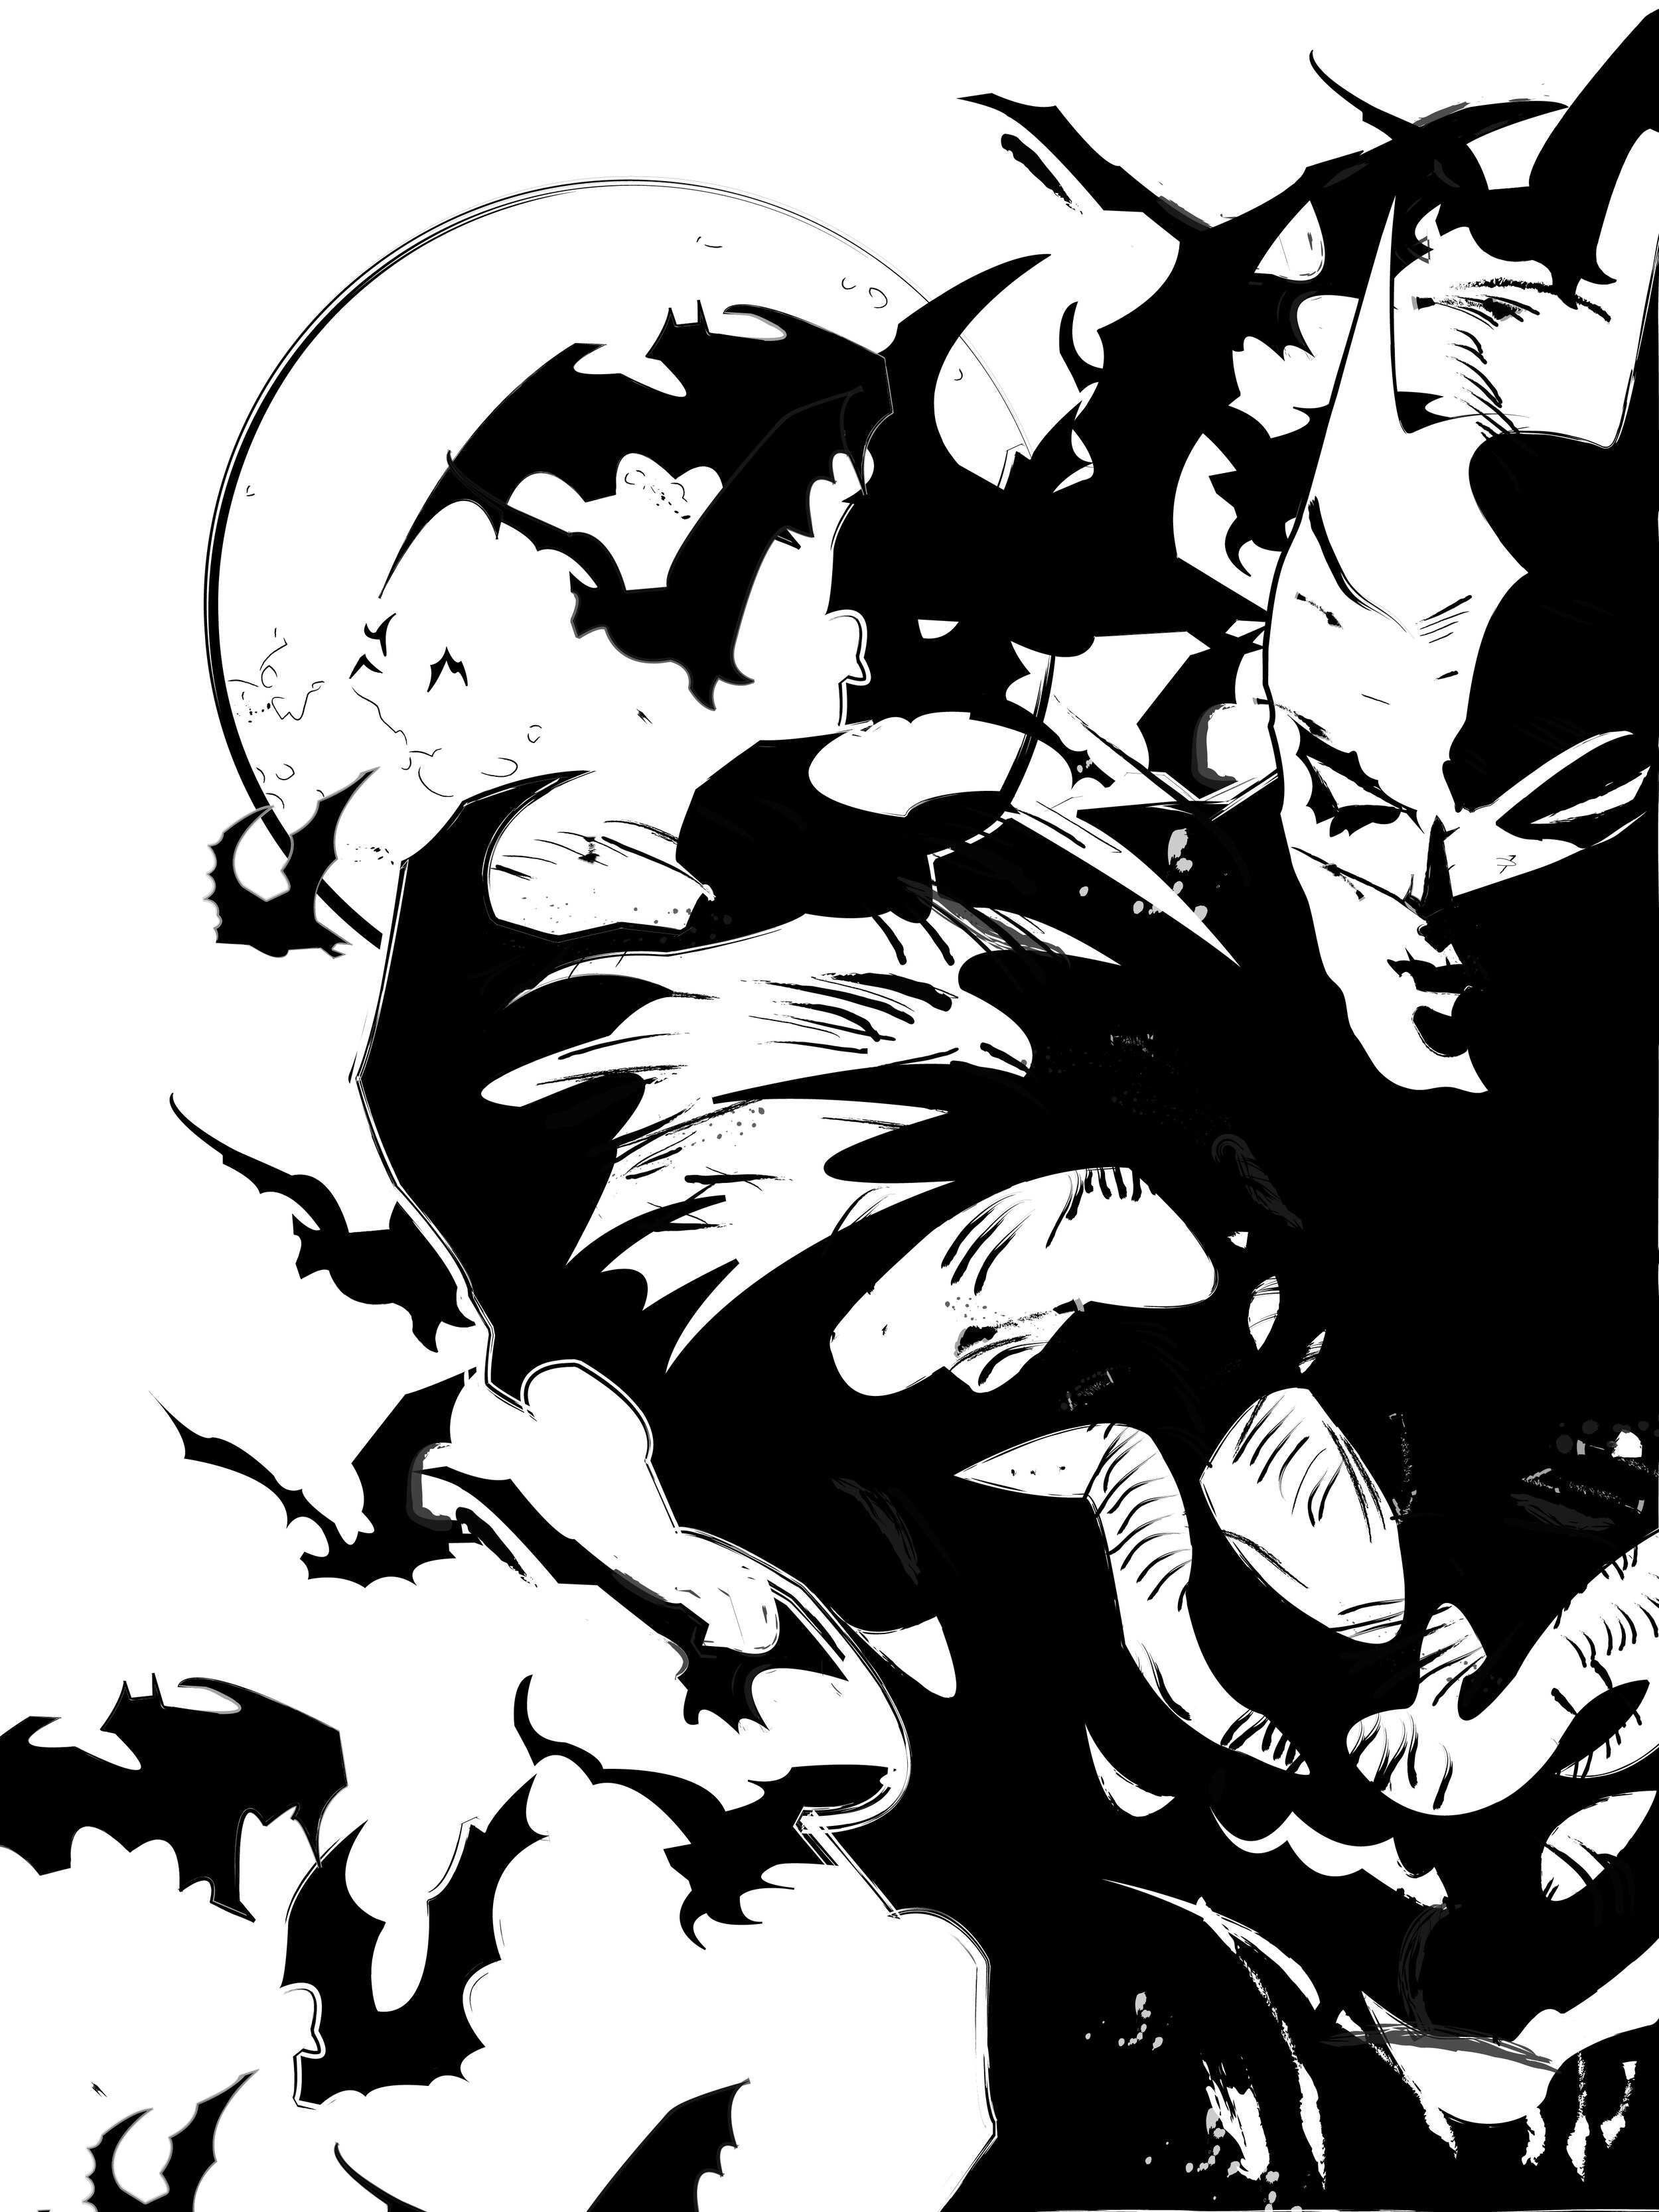
Batman Bay

IF YOU LIKED THIS HOW TO DRAW THOR TUTORIAL, DISCOVER more of my drawing tutorials:
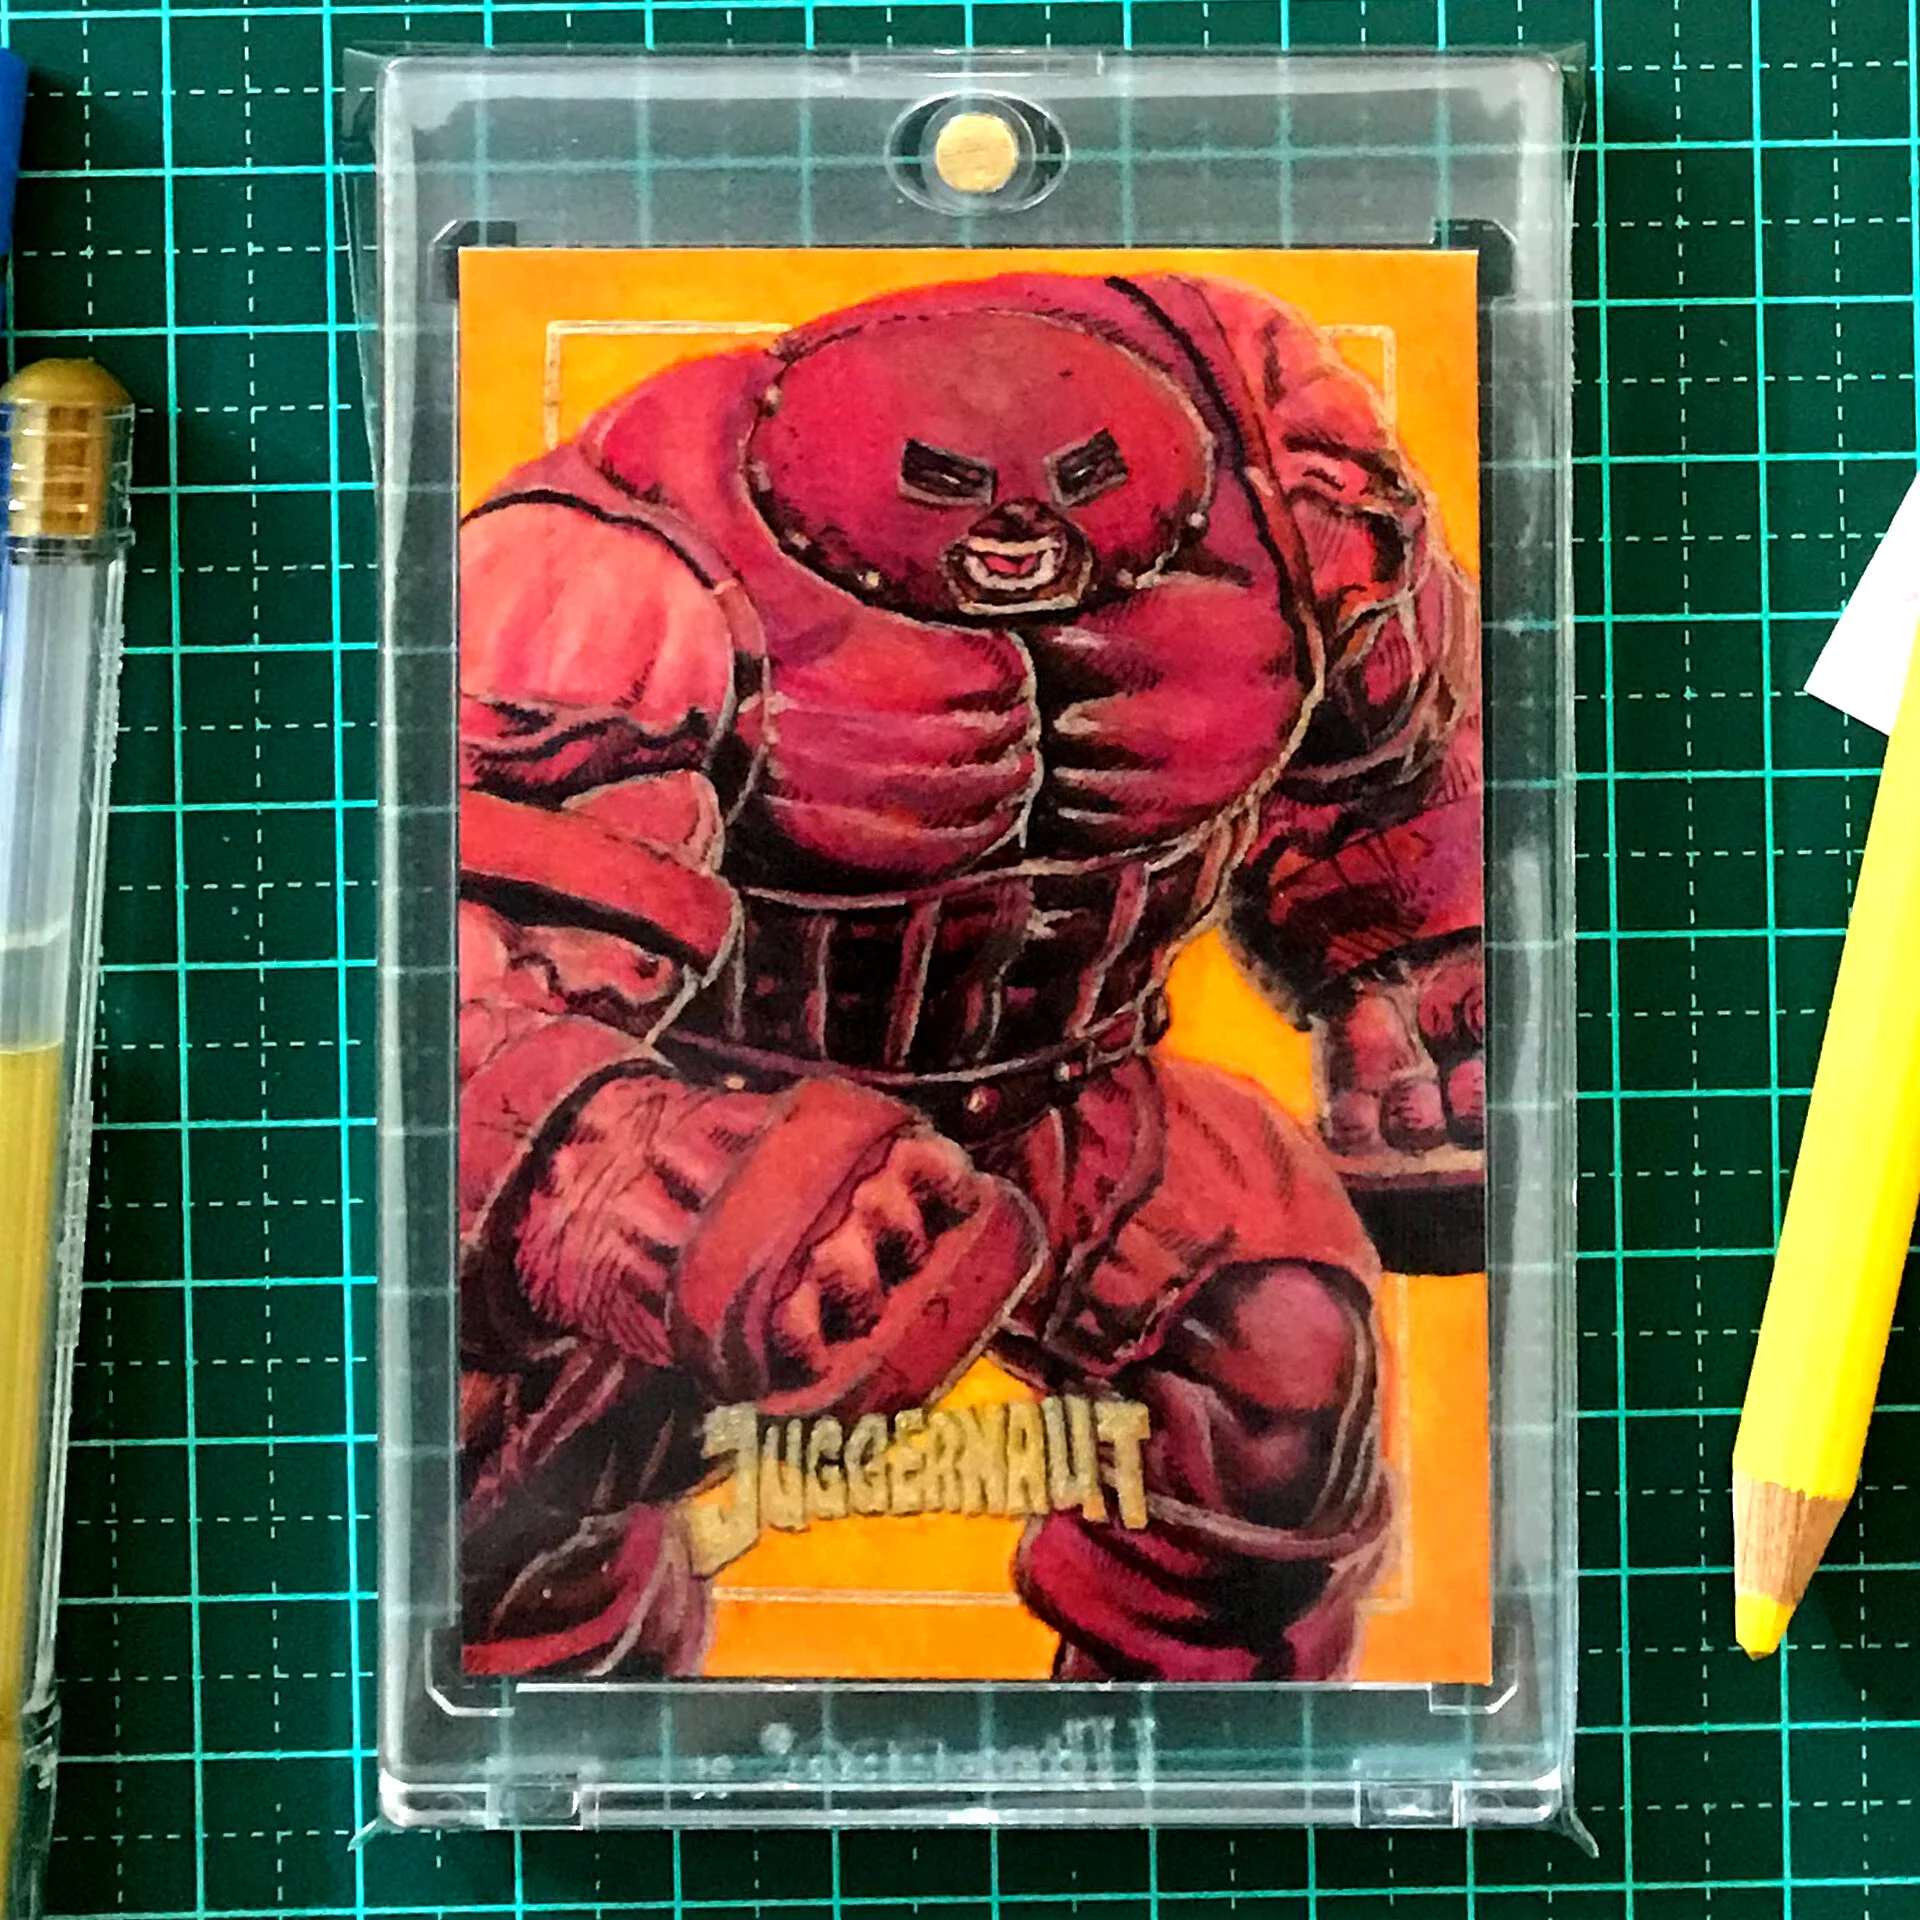
9 Step Process To Design A Sketch Card: Juggernaut
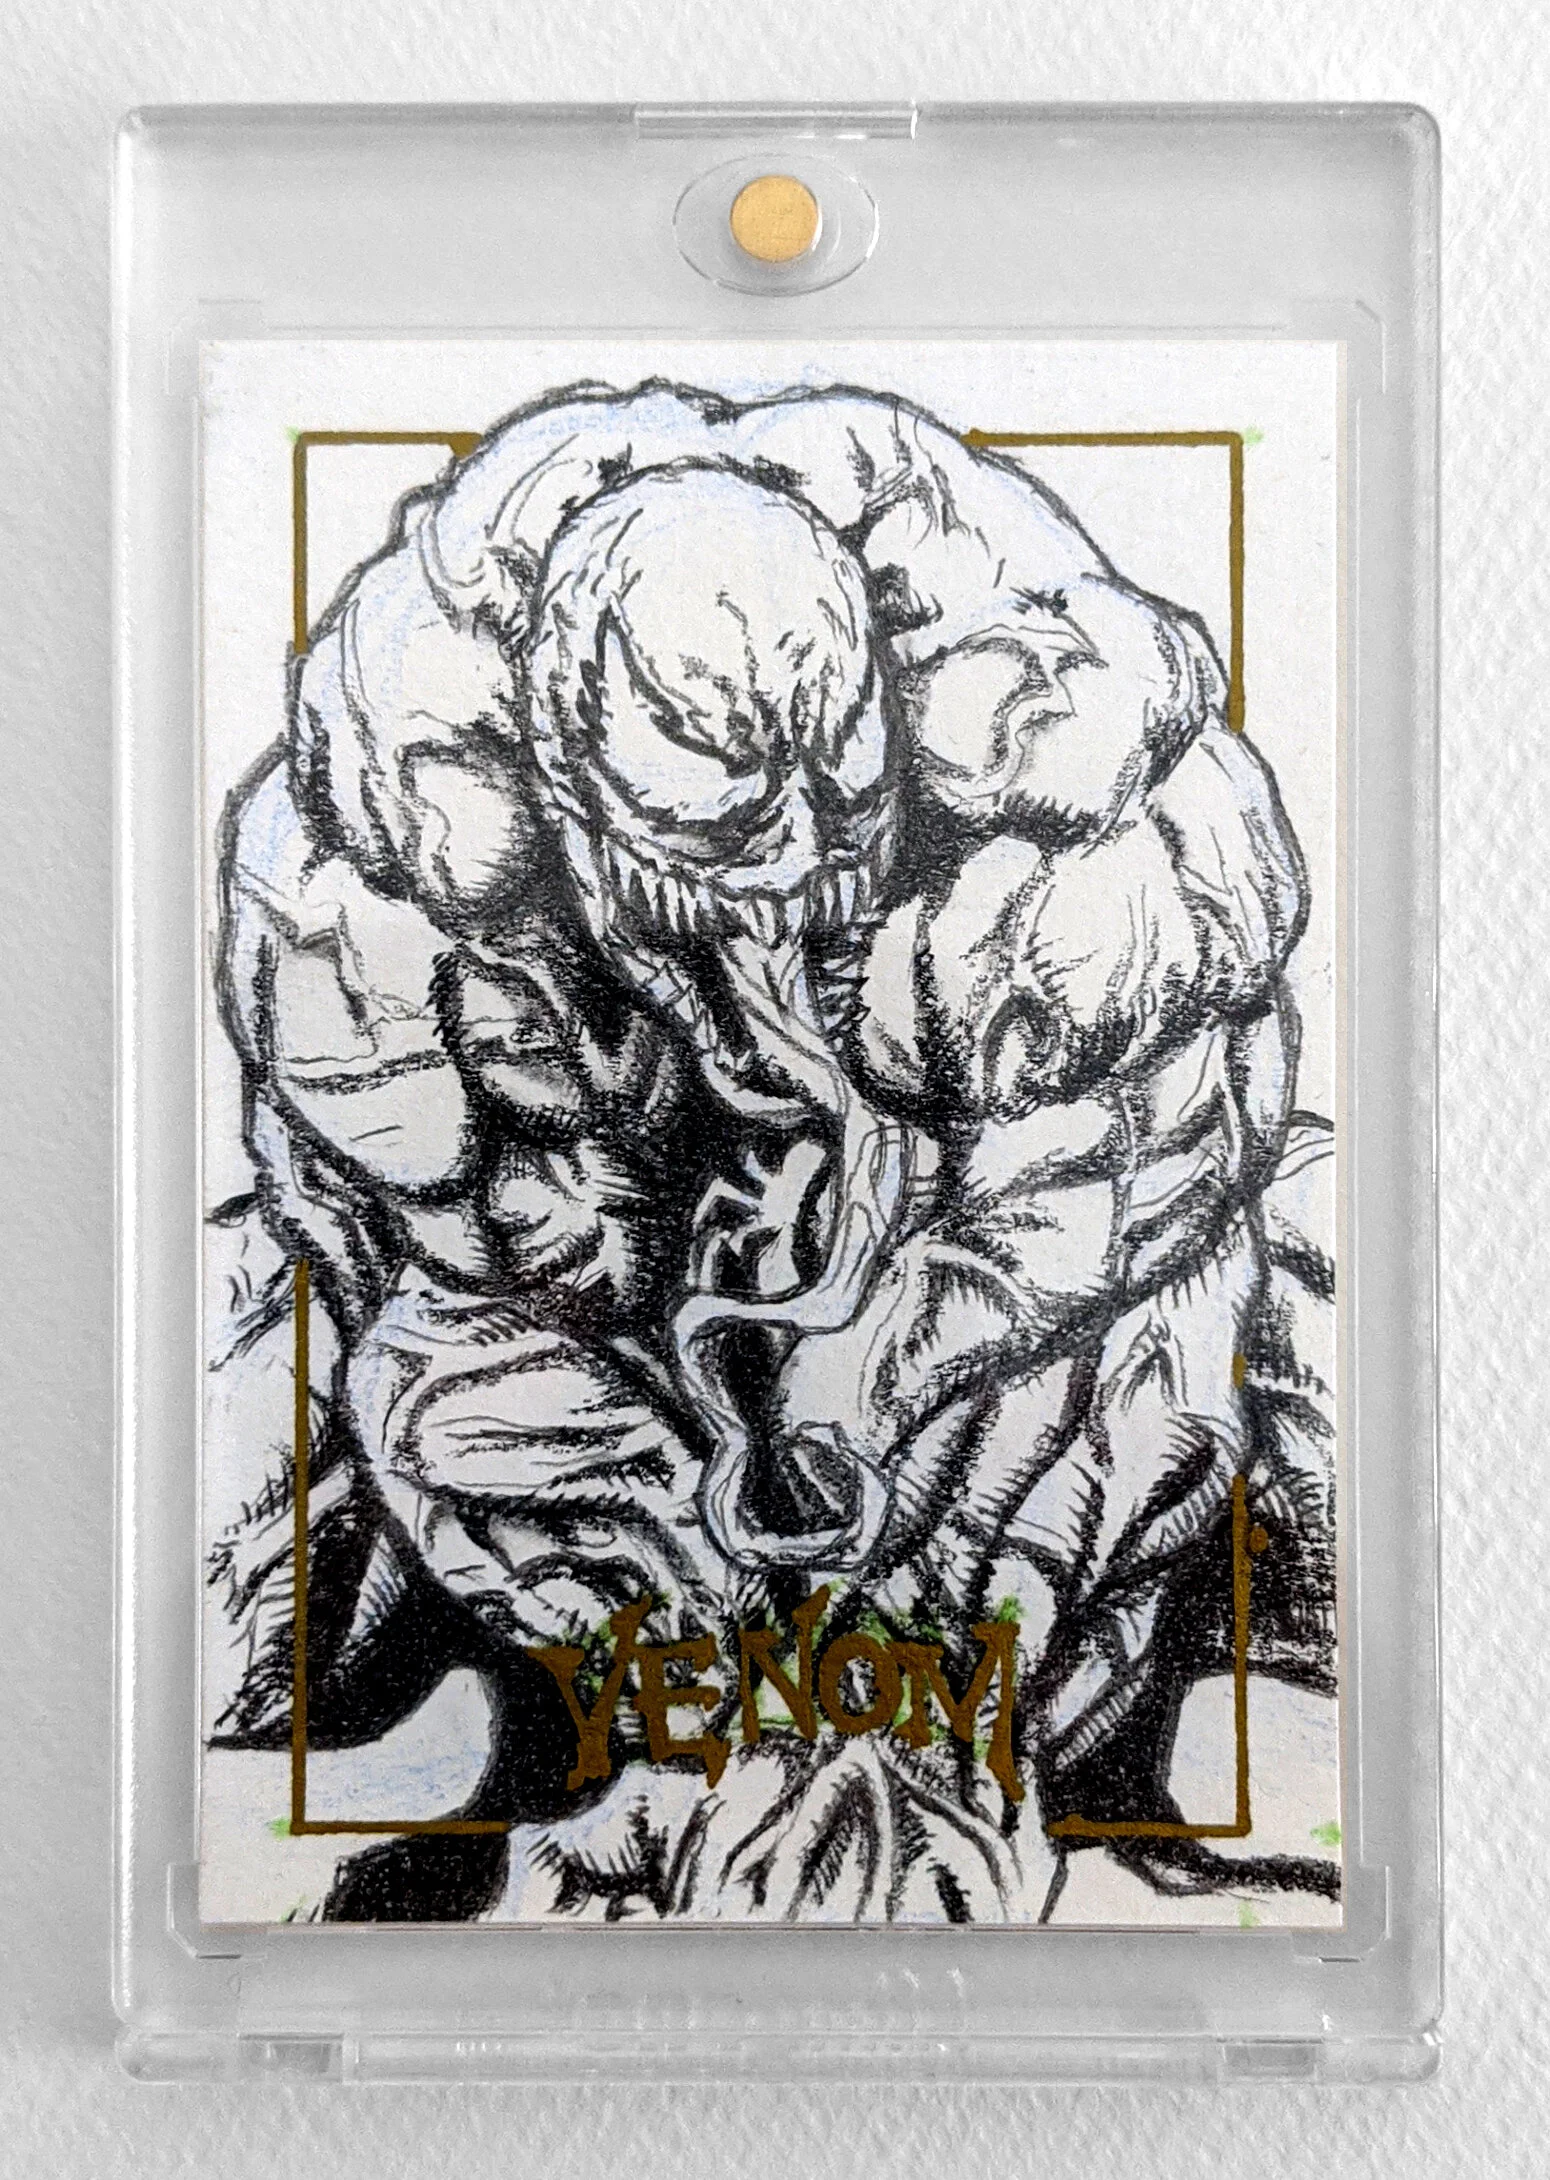
How To Draw Venom Sketch Card
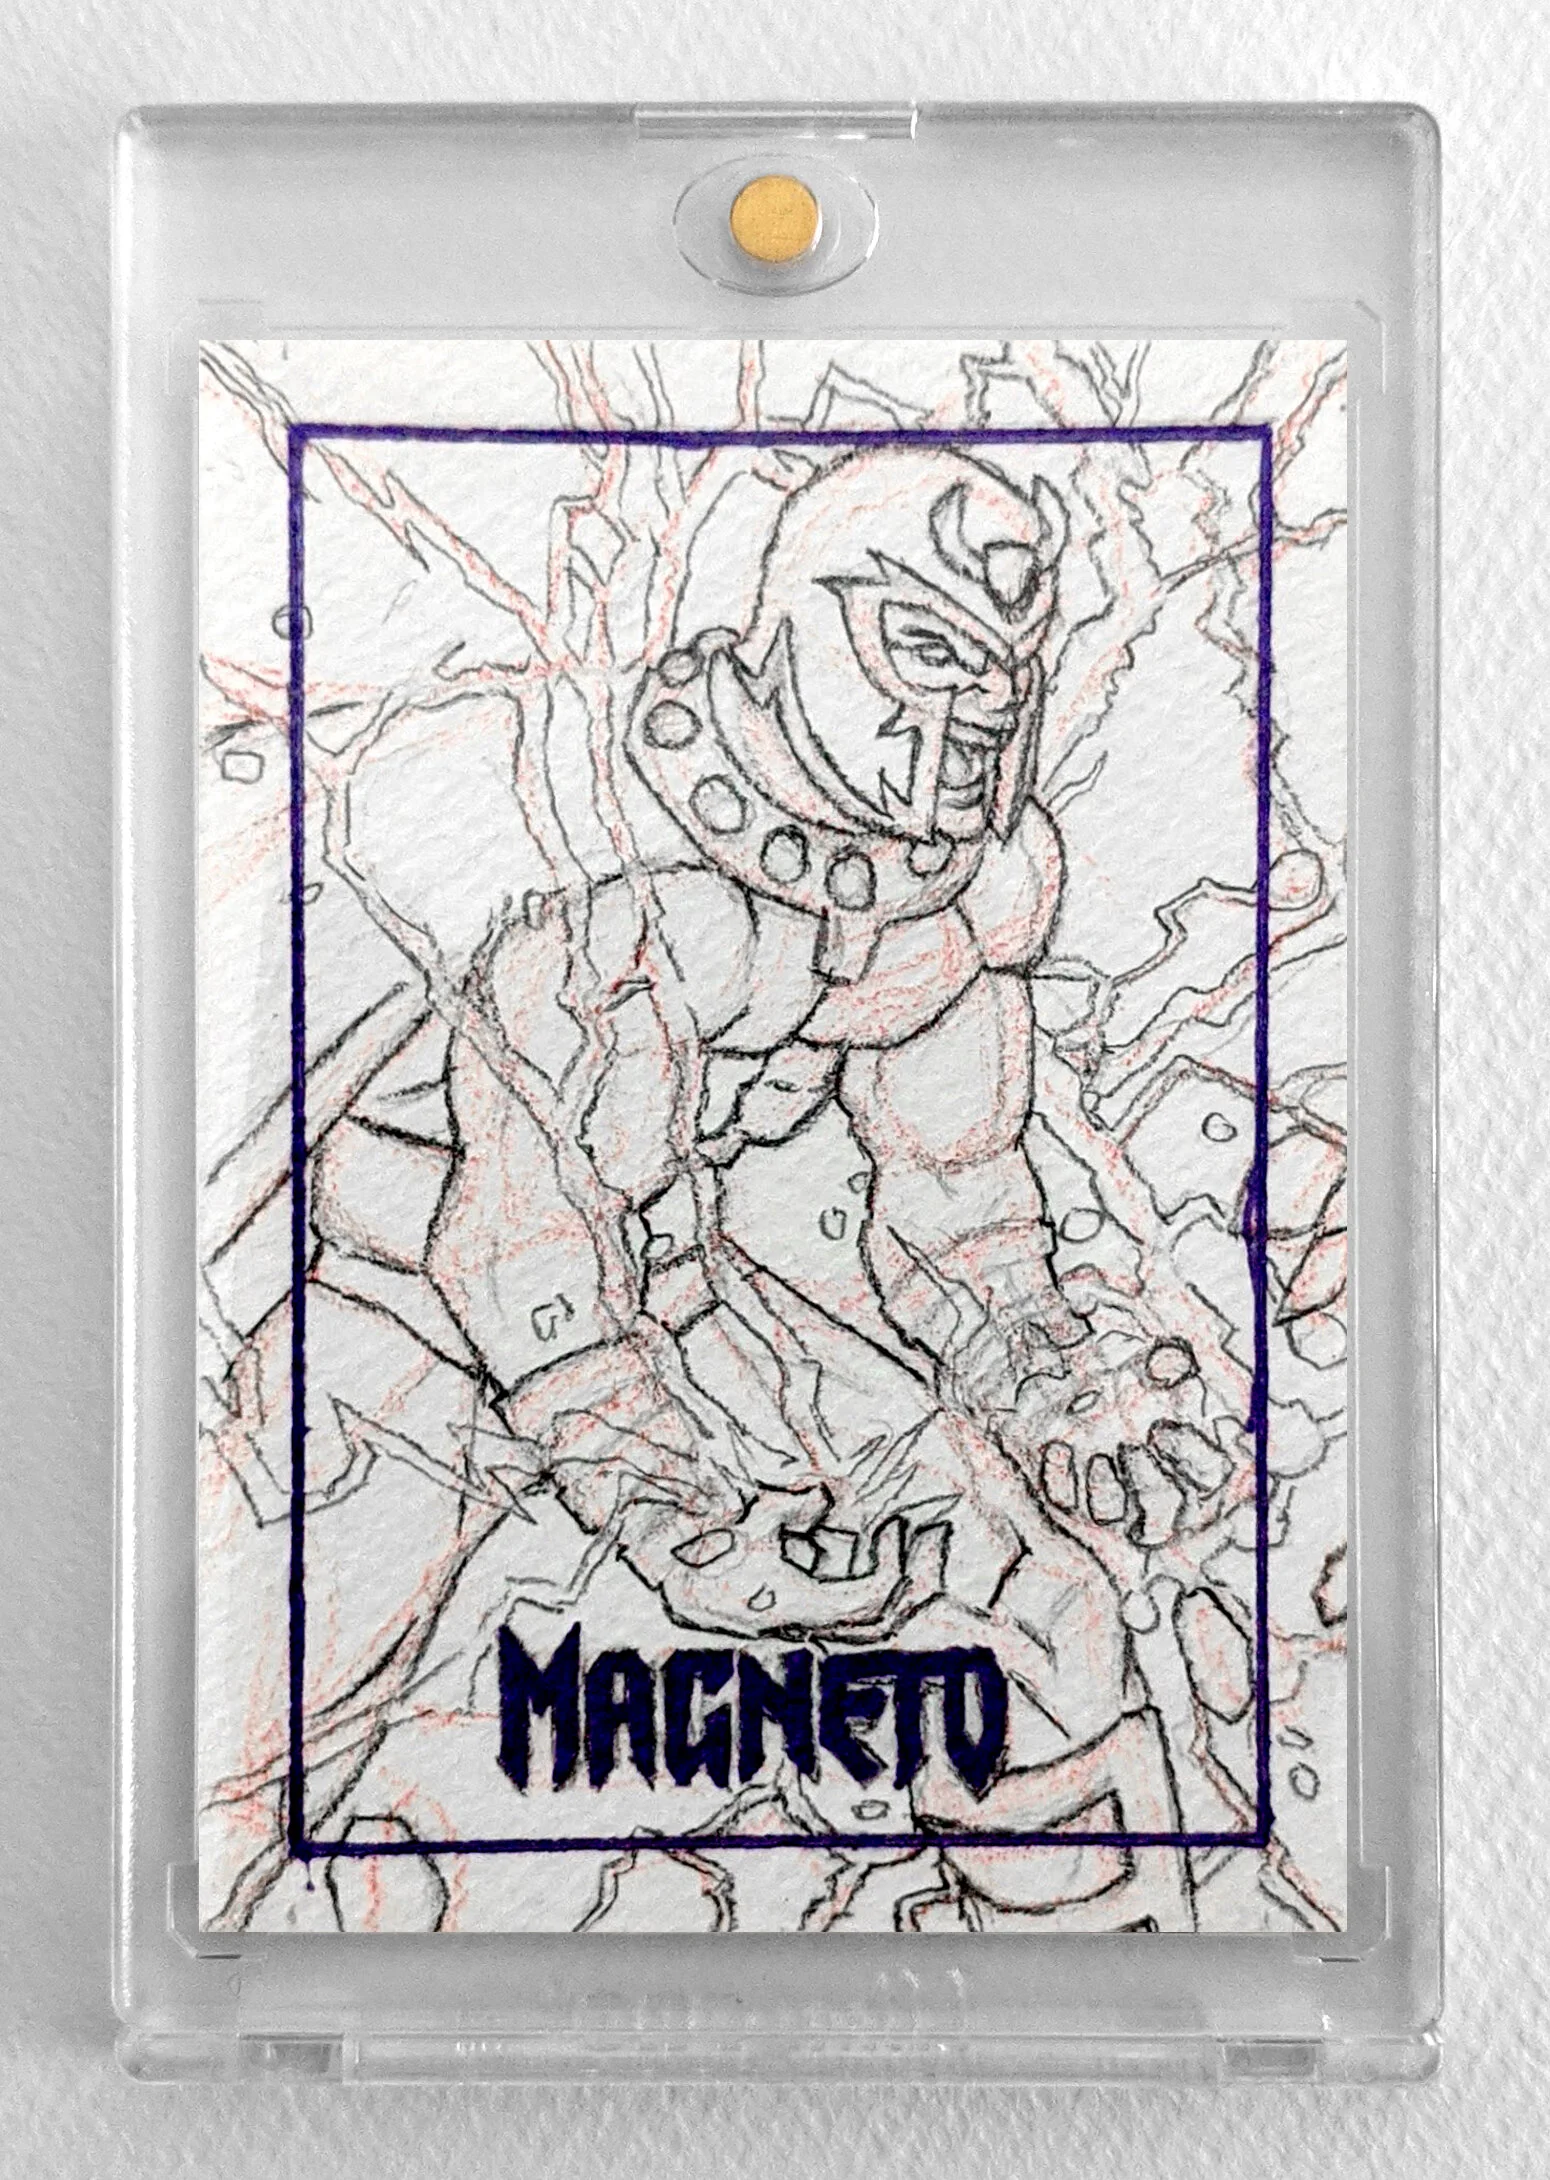
How To Draw Magneto Sketch Card